Hair!

I was going through some of my phone photos, trying make sure I sent everything to myself when I noticed a lot of hair photos and thought it might be fun to see them all in a row.
Plus it will help me figure out what colour next!
The first one is my natural hair!
Maybe.
The more I look at it the more I think I even took that pic ’cause it’s dyed slightly darker and has lowlights that my gramma’s hairdresser put in for me.

Pics after the break!

I don’t know why I can’t get that grid to match up.
And I’m a bit bummed I actually didn’t manage to capture all of the colours/variations. There’s also been a lot of platinum blonde with various streaks in between all those.
That last one was taken Feb 3rd this year, it’s now faded to something similar to the 2nd pic, but I think due to all the processing my hair has been through it’s mostly rose and streaked a yellowy pink.
I did a hair where it was pink chunked with grey, maybe I’ll do that again? DECISIONS.
I’m trying to grow it out to a sort of short bob ala Victoria Beckham and Thea Queen in season 3 of Arrow, so it’s super awkward right now ;_; 
I was also thinking of cutting it super short again…

Wedding Dress Progress 3

Okay so, where did I leave off….
I think at the lining!

So after making all the adjustments on the shell, I turned towards the lining.
I took another look at the original bodice and noticed they even flatlined the lining, I’m not sure whyyyyy, I’ve never heard of that, but if it’s good enough for Disney, it’s good enough for D!

So last minute flatlined all the lining with a light weight cotton (which, ugh, means I’ve cut this bodice pattern out 5 times not including muslins), while I don’t really get why they did that I don’t mind because I like having a fabric you can trust! Instead of the flimsy slippy stuff this whole thing is made out of.

Beautiful dissimilar curves ;_; Probably the best princess seams I’ve EVER done, and of course it’s the lining.

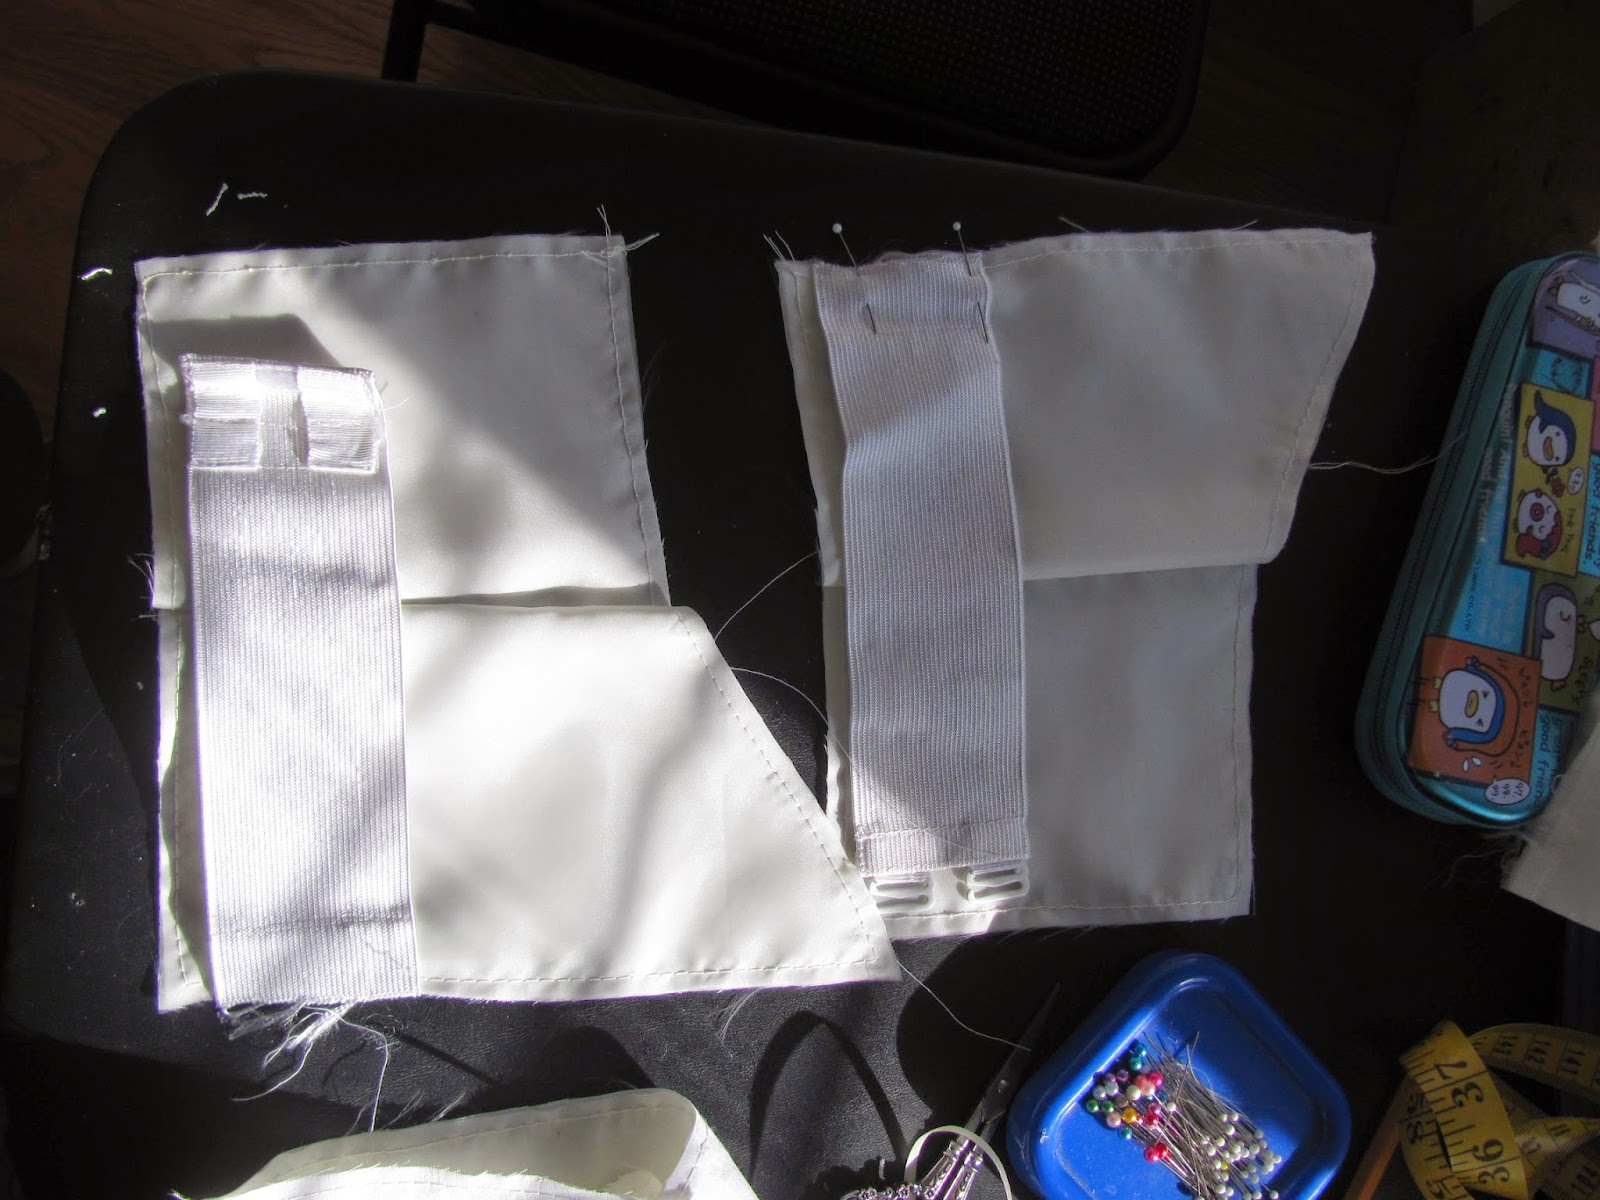
Then I was debating putting a waist stay in, wondering if I really neeeeeded it, but I fell back on “Do it like Disney” and stole the original waist stay to put in.

Feeling pretty productive!

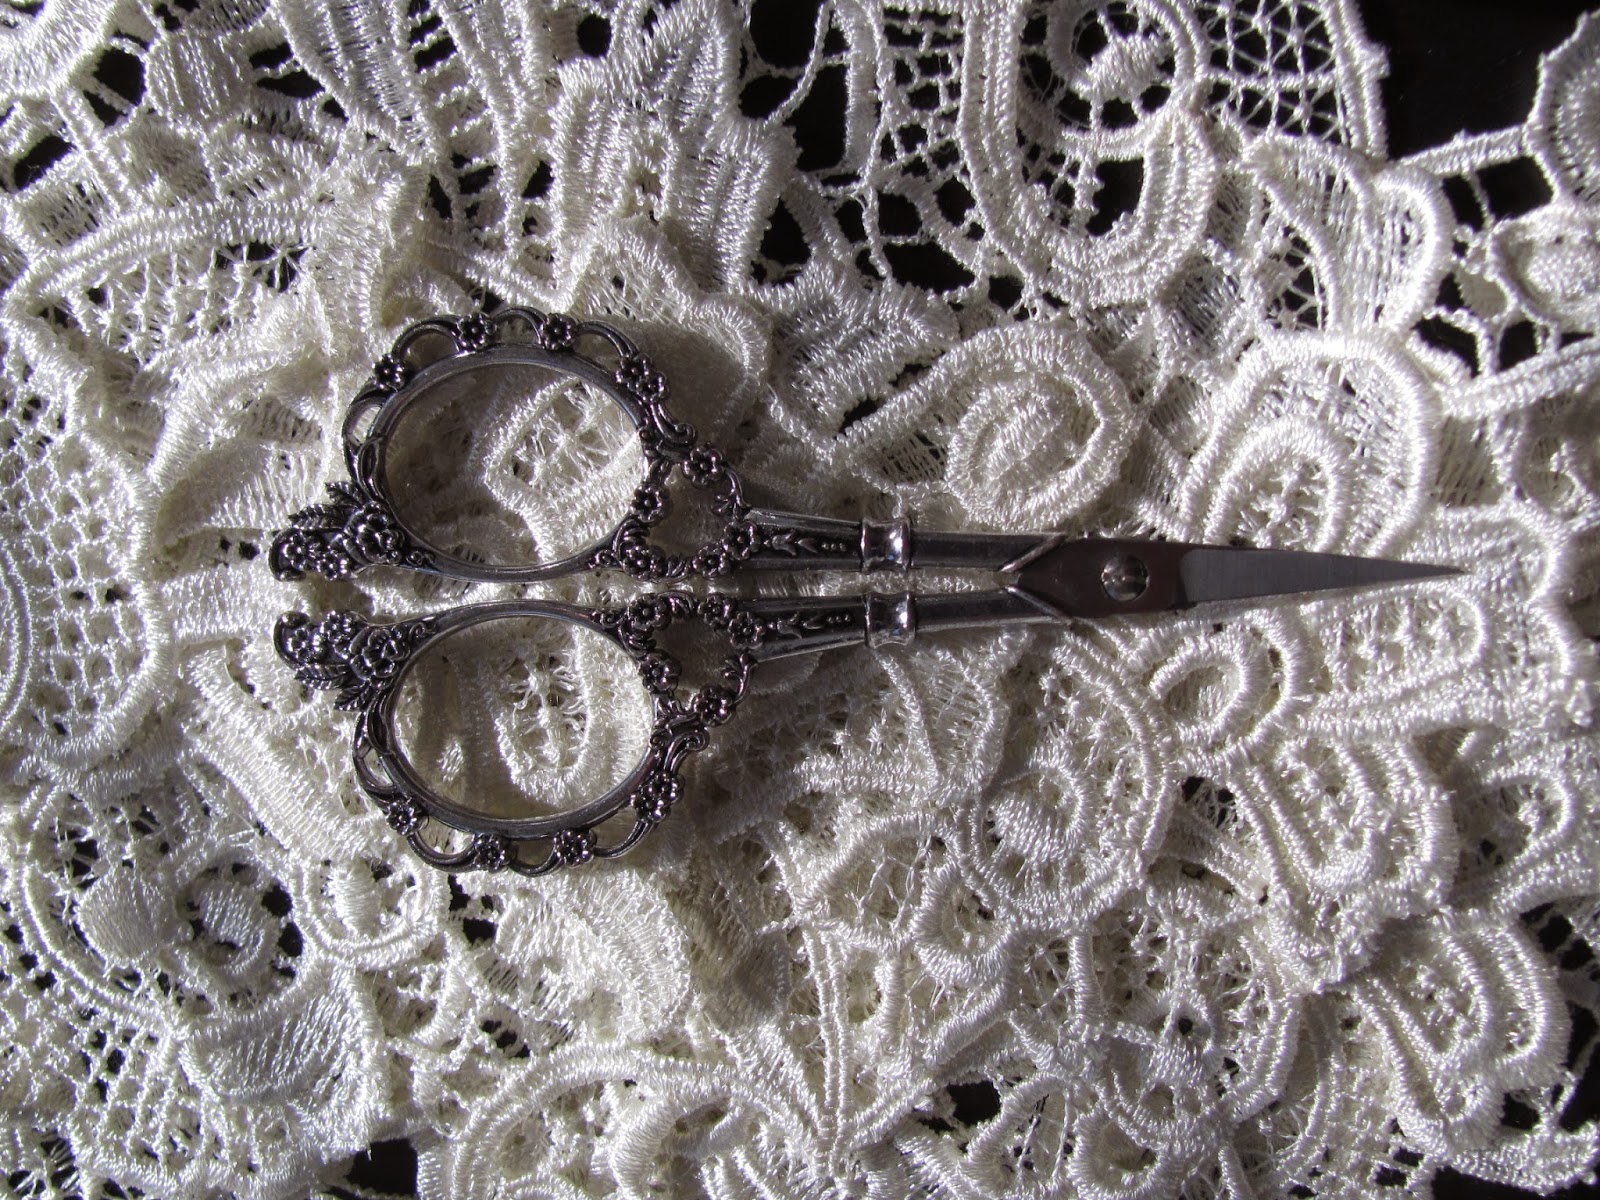
Check out these ADORABLE scissors my gramma got me!
They look right at home with the lace 😀

Lining aaaalmost done, time for mass amounts of clipping and adding the boning.

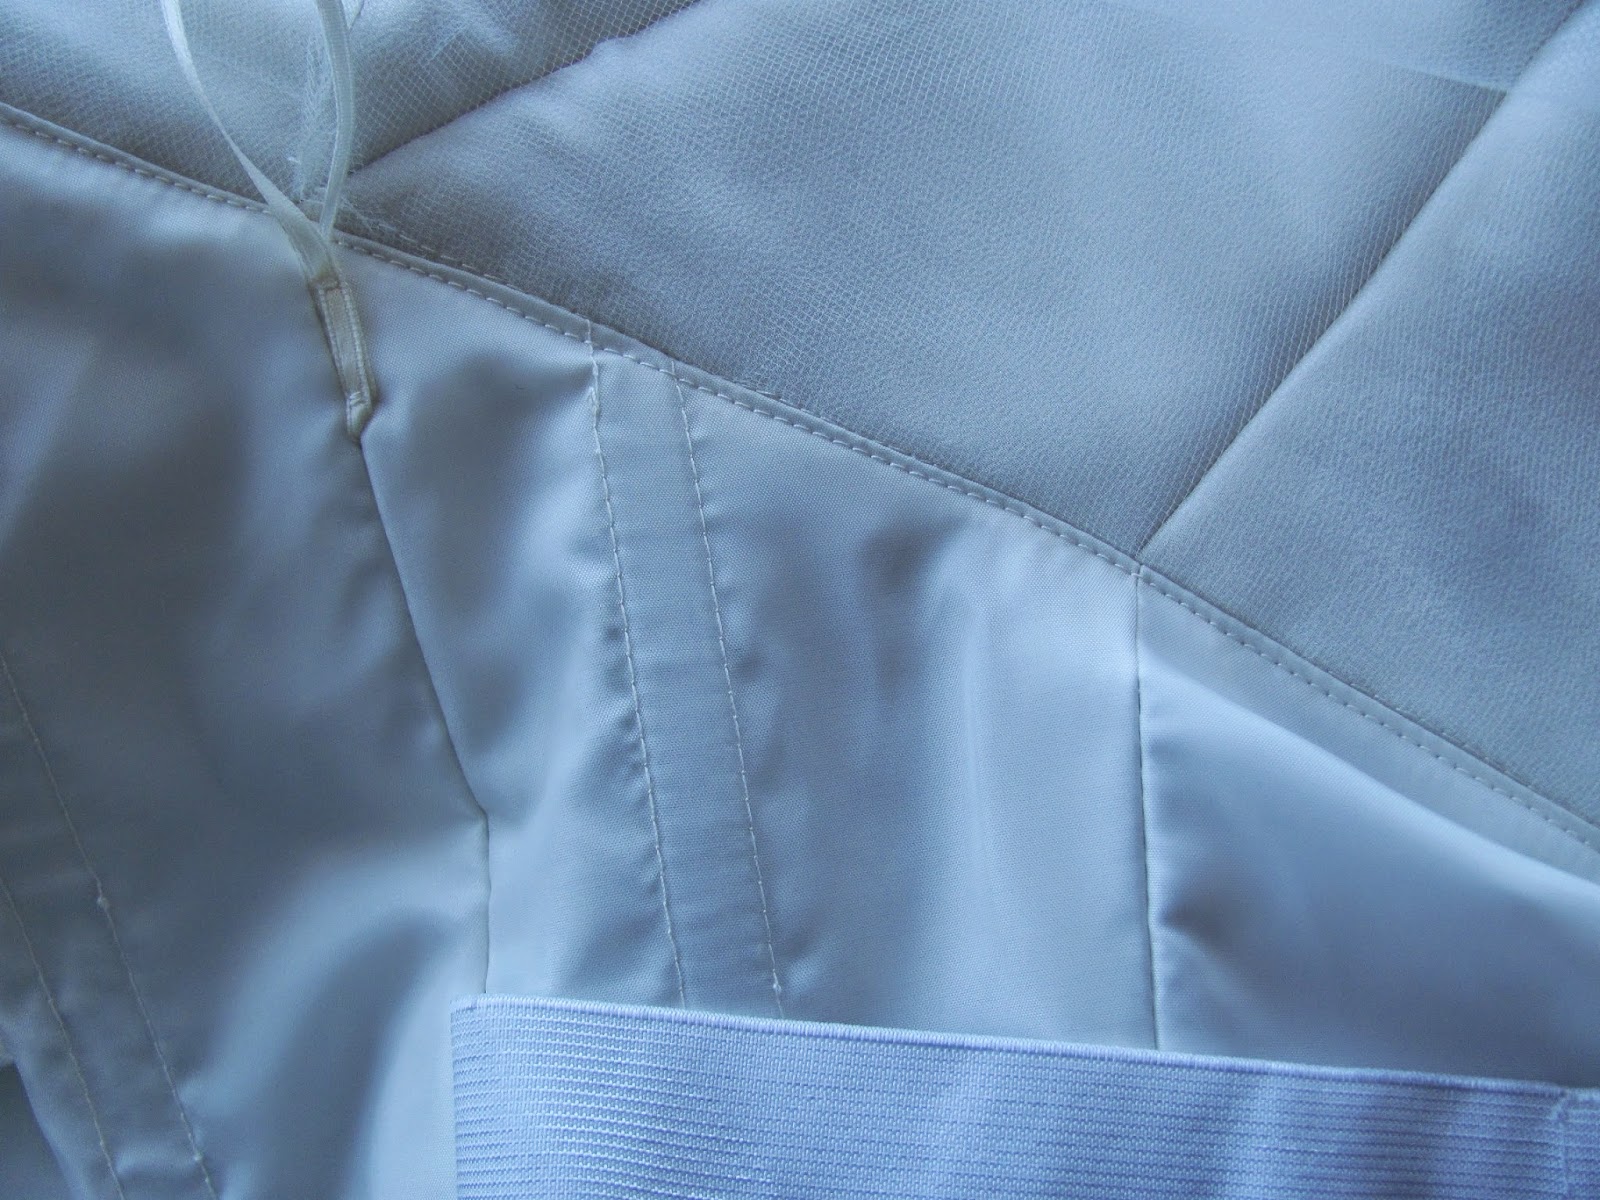
Inside, boning added, clipping done, pressing in progress.

Outside (well, I guess technically this is the inside, since it’s the lining…), same stage.

Pressed all that, sandwiched the netting top in, and another fitting!
Fitting went really well!

So understitched the lining.

Then popped by AJ’s to give it a proper pressing with a proper ironing board 8D;;

Stuck it on her dress form to get some pics before the next stage! It looks a little lumpy in places here, but it fits D great so I’m sure that’s just the different form.

More to come!

Wedding Dress Progress

Okay! So I checked the fit on D, and confirmed yes, I had added 5/8″ twice. Better than not adding at all right?
But!
Then we had to refit some things! Minor, 1/8″ here and there. But whyyyy.
We did three mockups. Three. I don’t understand.
But after being confused, you just have to roll with it!

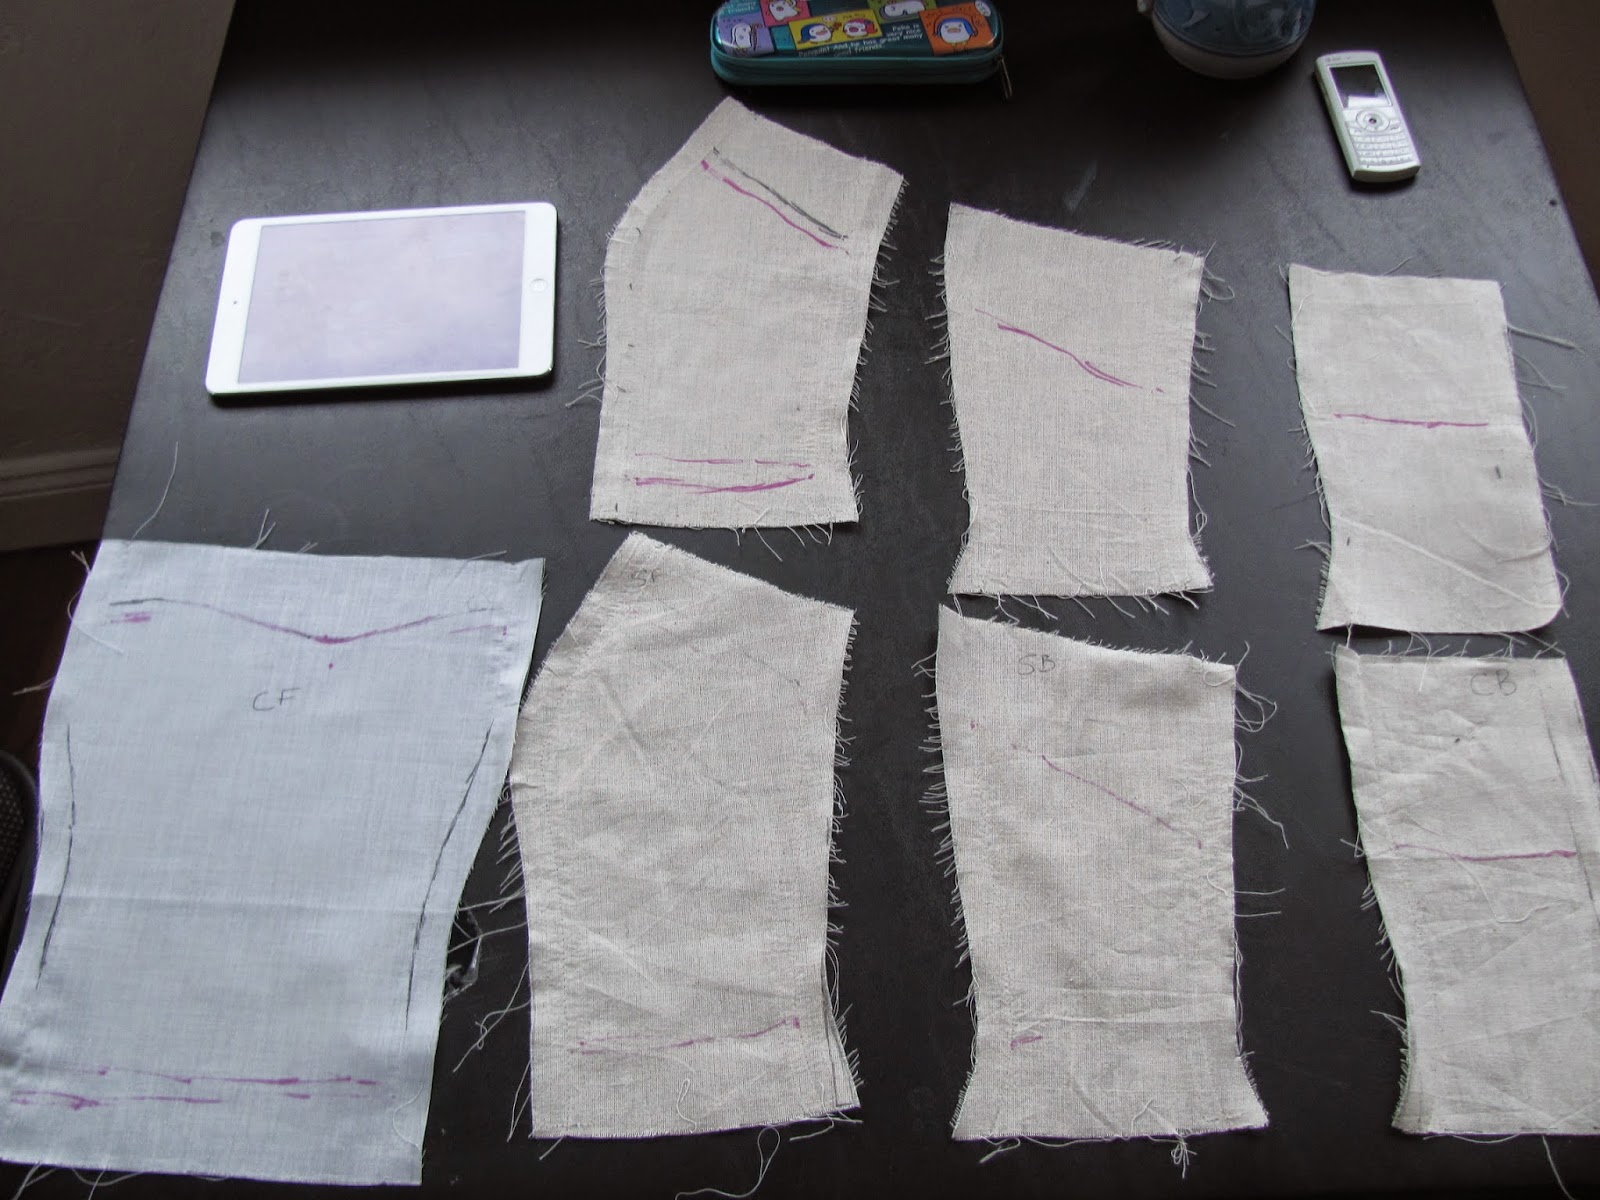
I trimmed up all the little pieces, and onward!

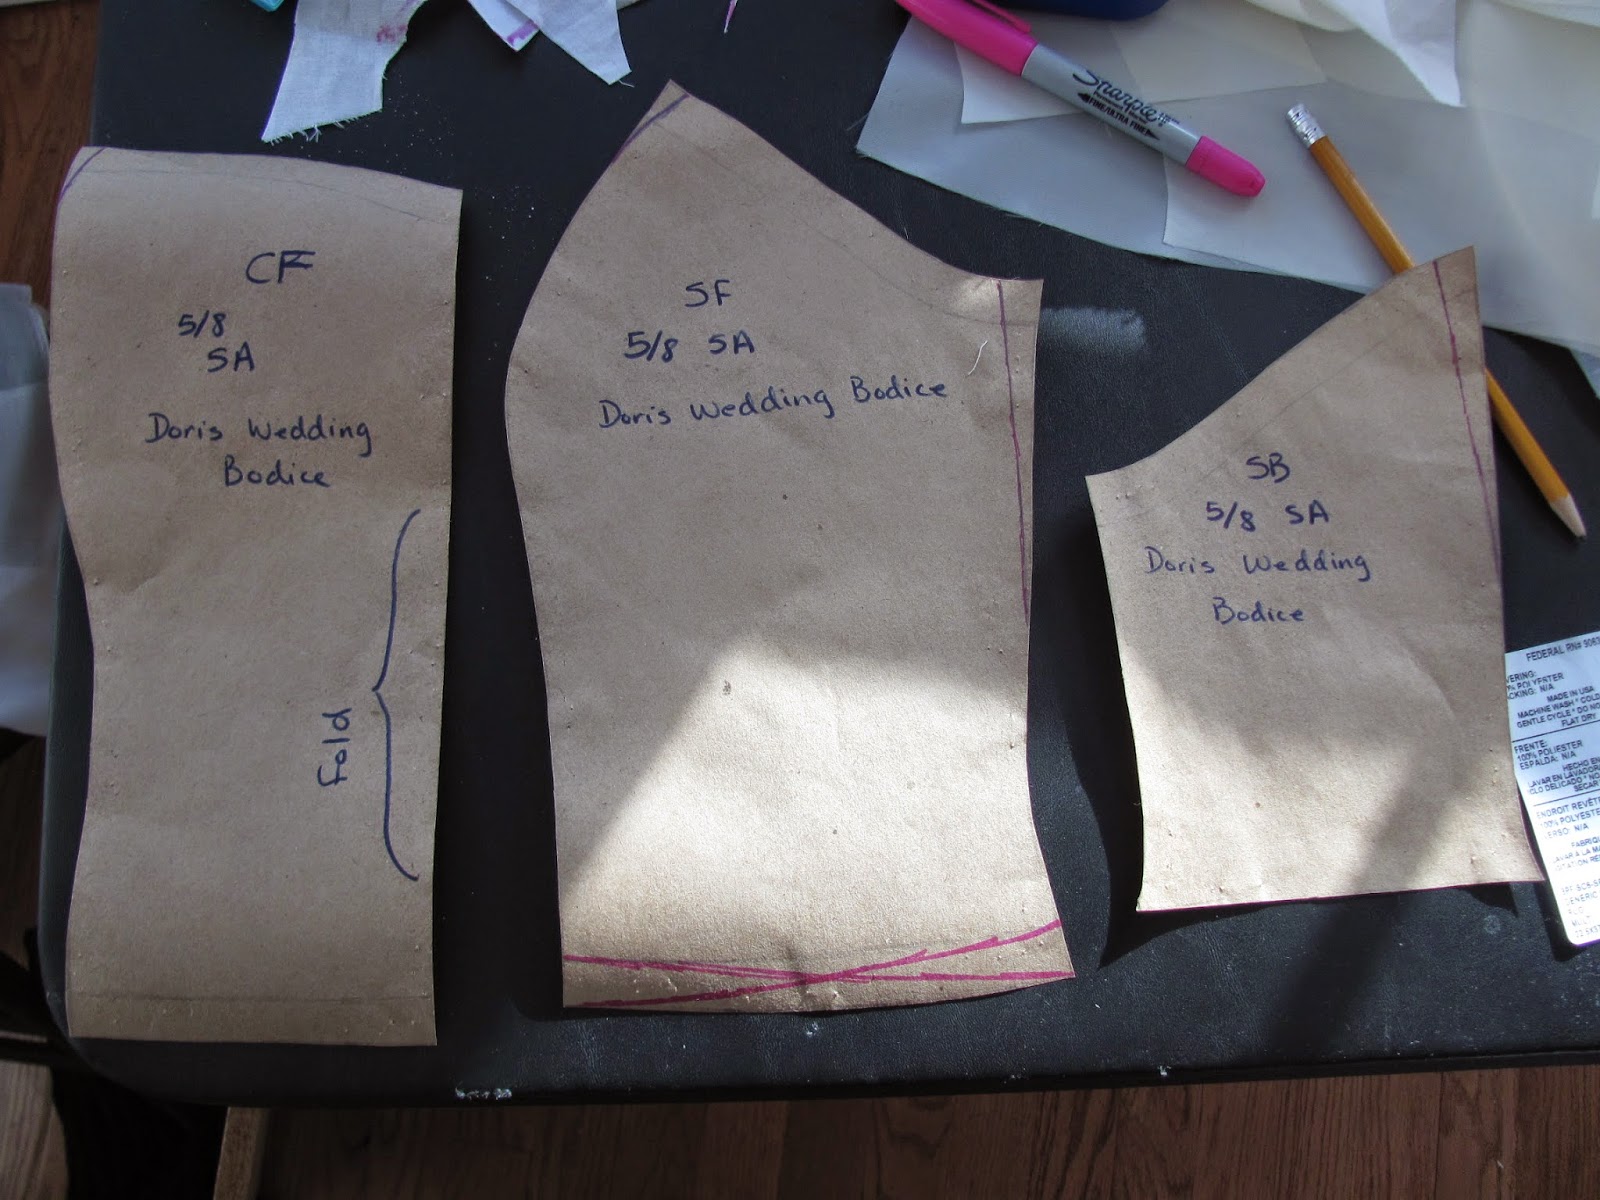
The adjustments I made to the pattern are in pink, except that cross at the bottom of the middle piece, I did it backwards at first >.>
And then I went back to finishing the bodice.

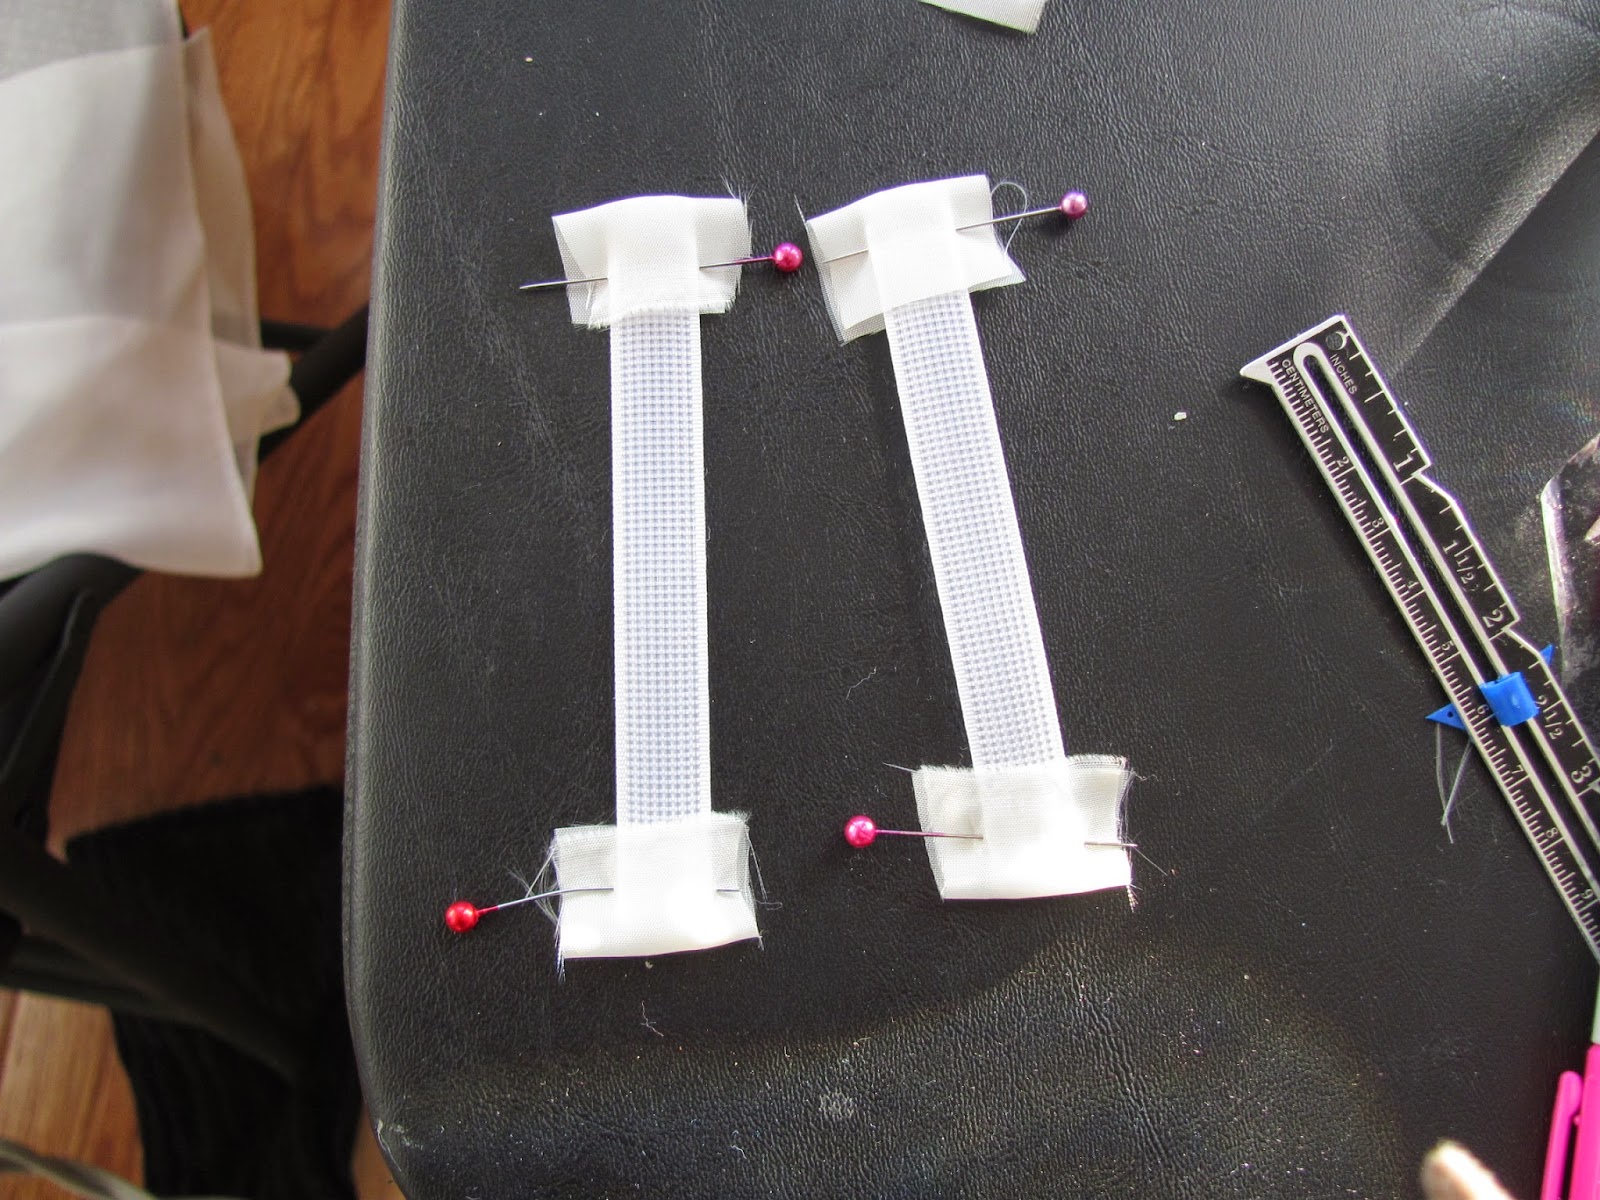
Prepping my rigilene!

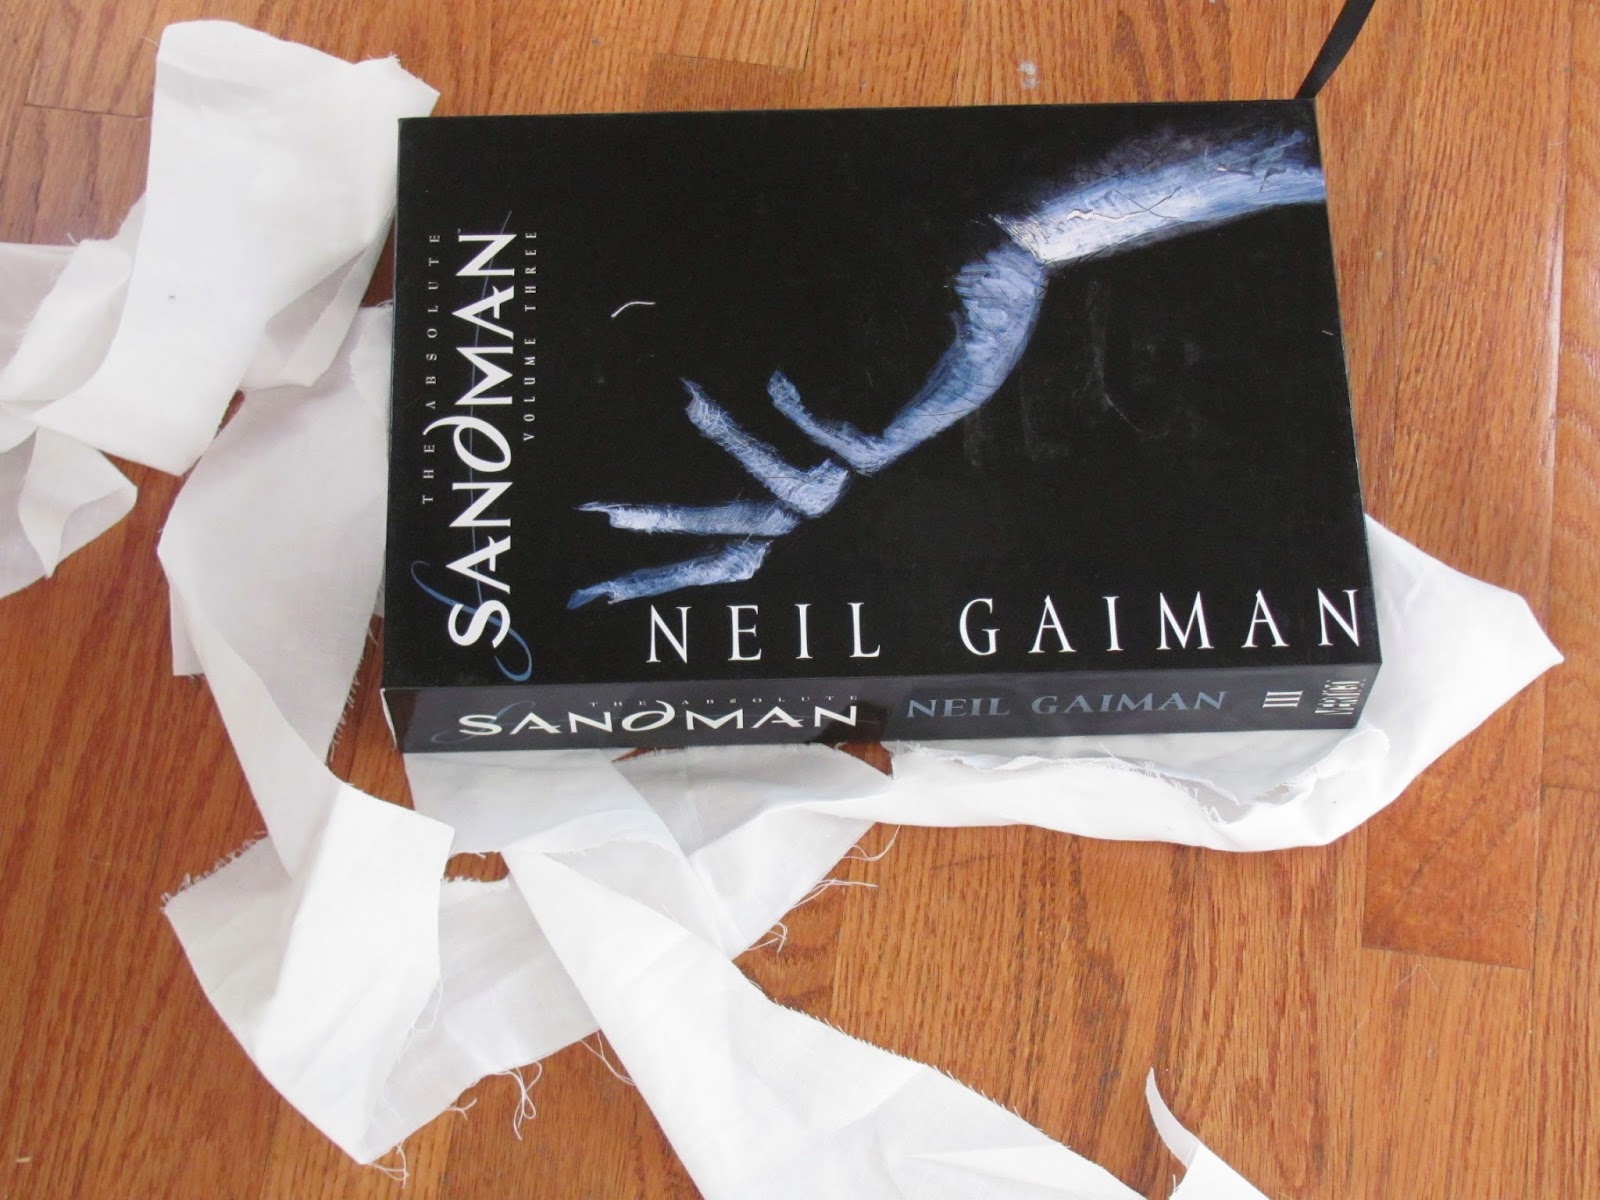
After I ironed it I dumped a heavy book on it to flatten it out.
I got my rigilene from Zipperstop on etsy, I’ve never actually used rigilene before but it was used on the original dress so I did some research and determined it was just as good as poly boning and possibly better, so I wouldn’t be out anything by trying it.
I loooooove it!
It’s tiny rods of plastic woven together, so it will lay more flat than poly boning and will move with you. It also curves better and is sewable!

SO NICE.
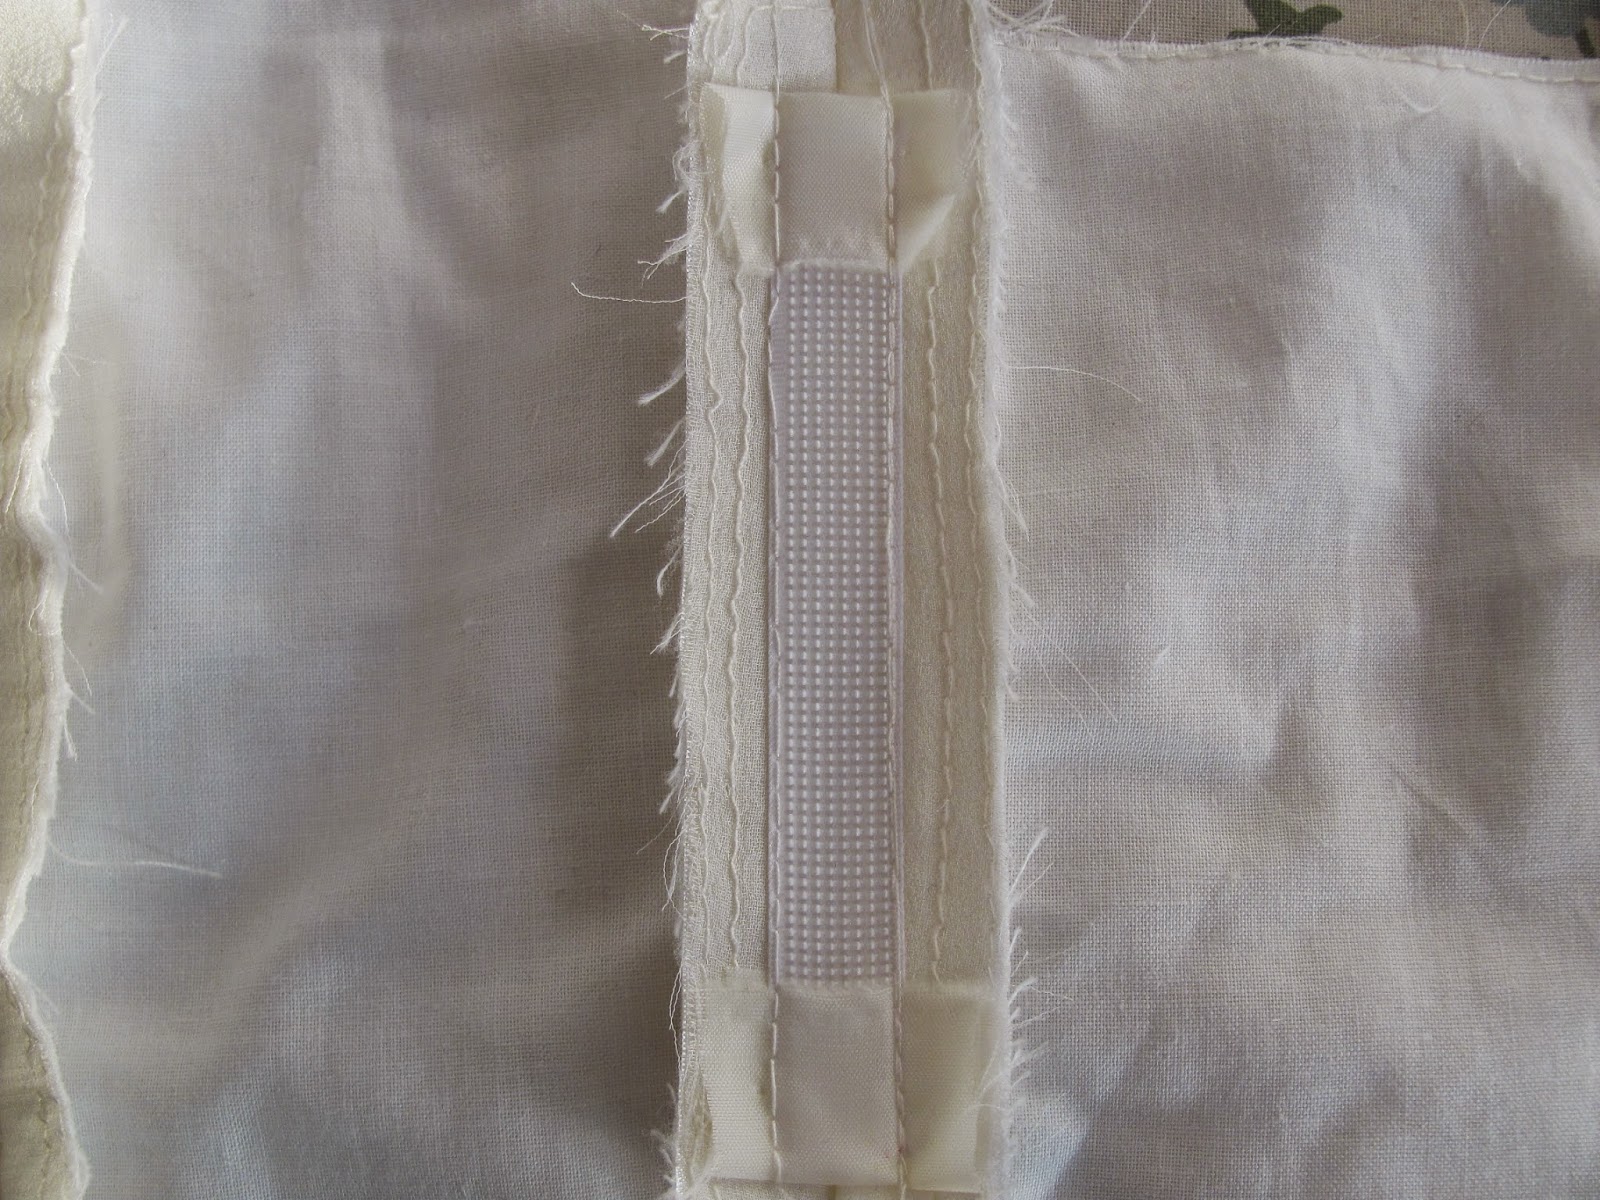
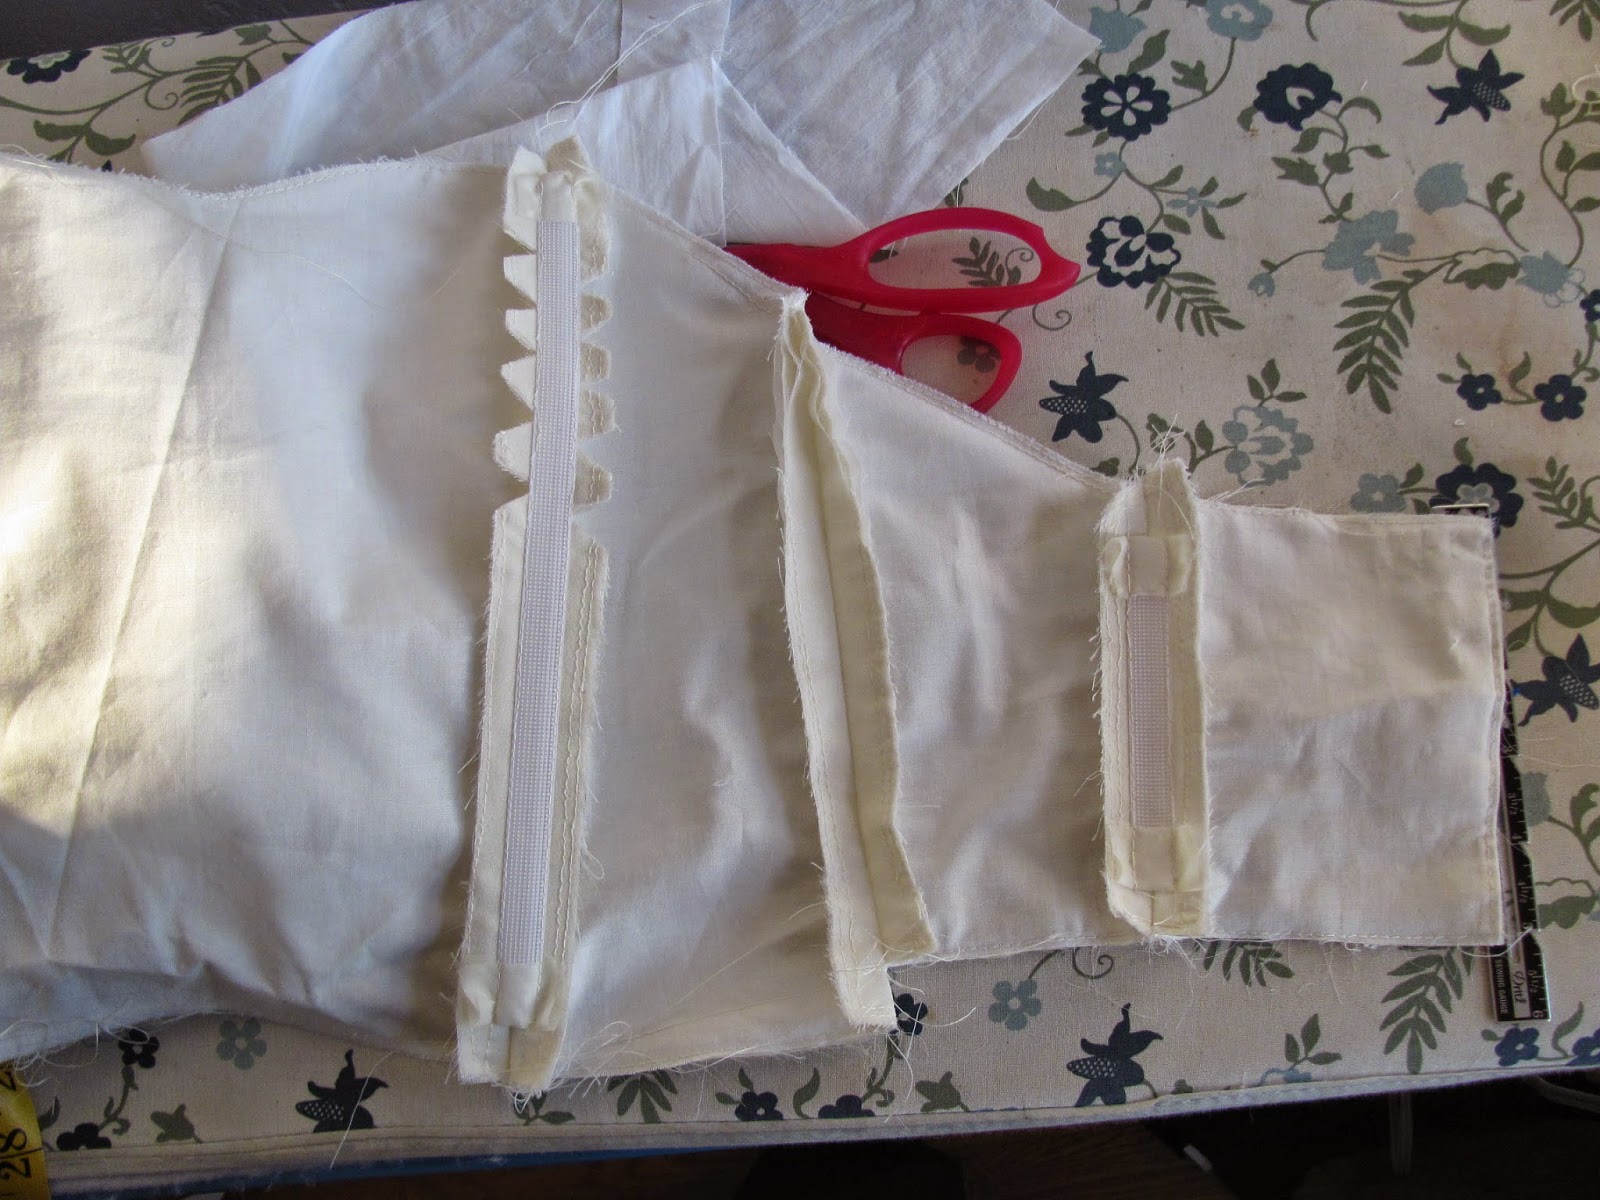
I sewed it to the seam allowances for the shell.

Shell all done!
I ironed more and trimmed after that.

The other thing we did while I had her was pinned a bunch of muslin on her while she was wearing the bodice, to create the illusion neckline.

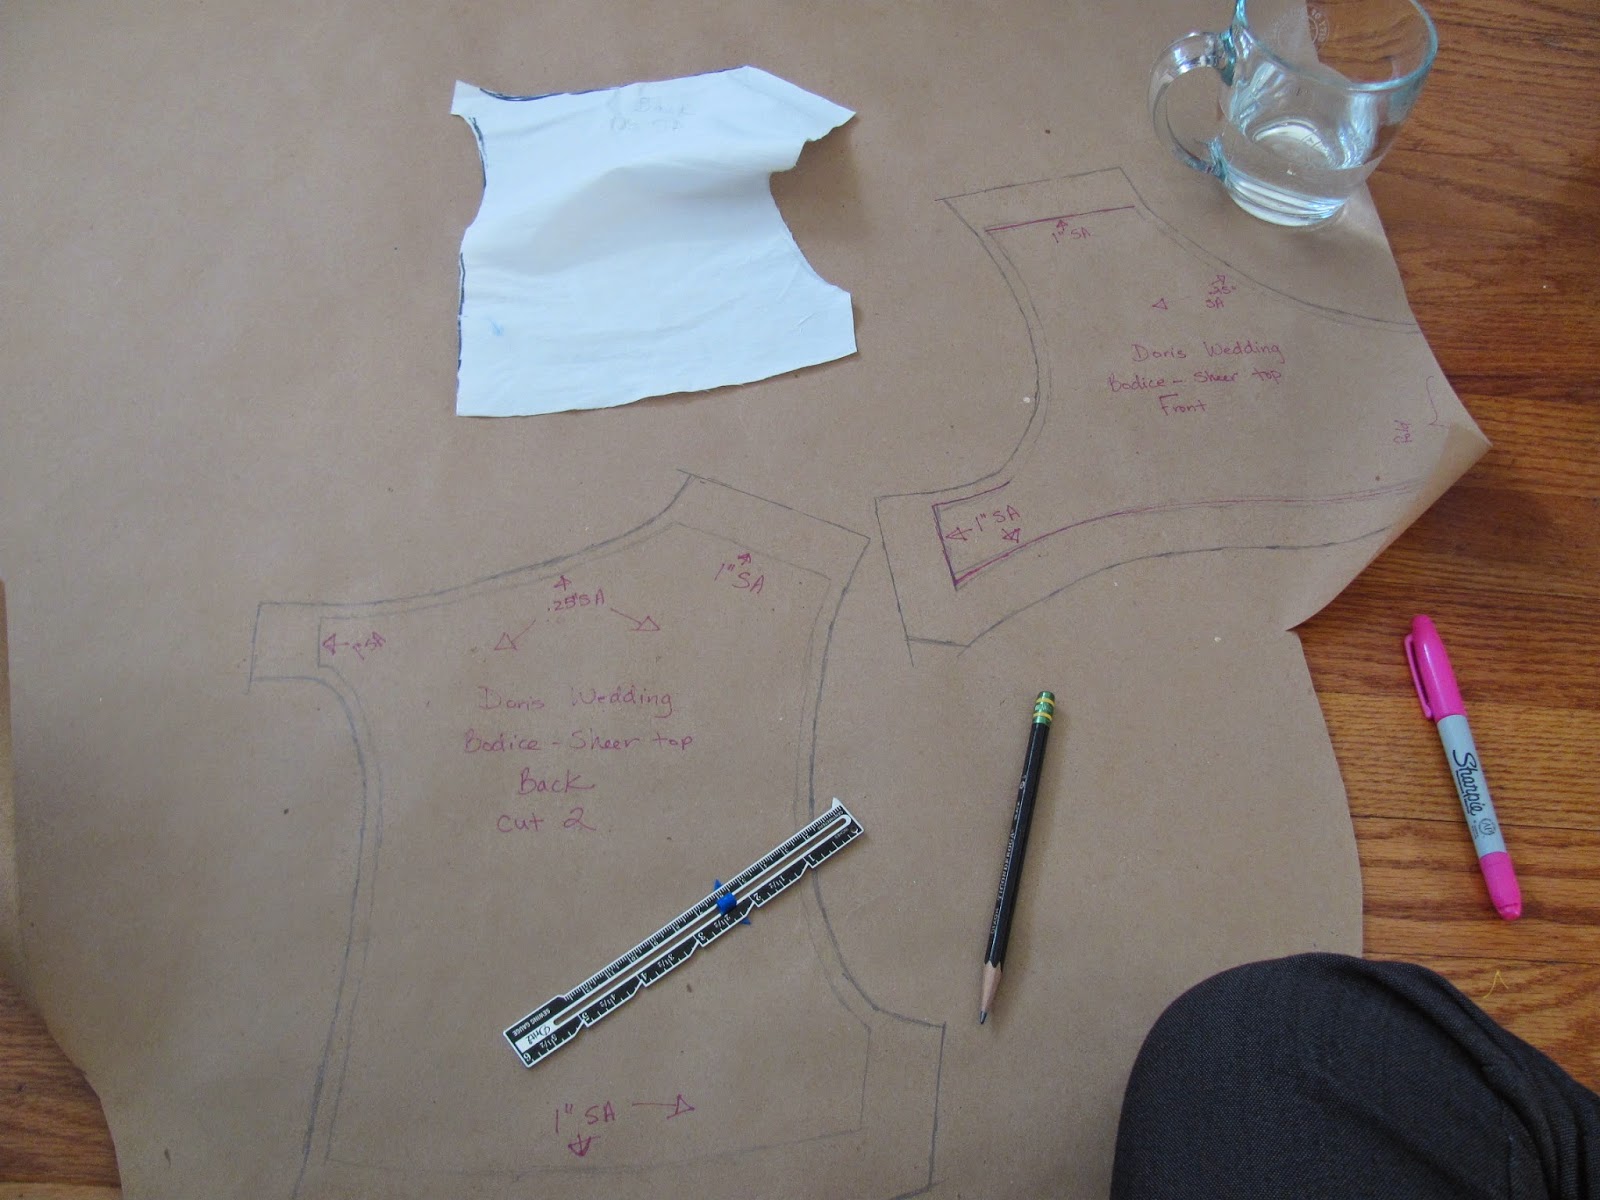
It’s a little hard to see here, but I traced off each side of the pattern and then split the difference with the pink line.

Then I added seam allowance, I added an inch so we’d have wiggle room for the next fitting!

Random Mobile Photos – March

More mobile and tablet photos!


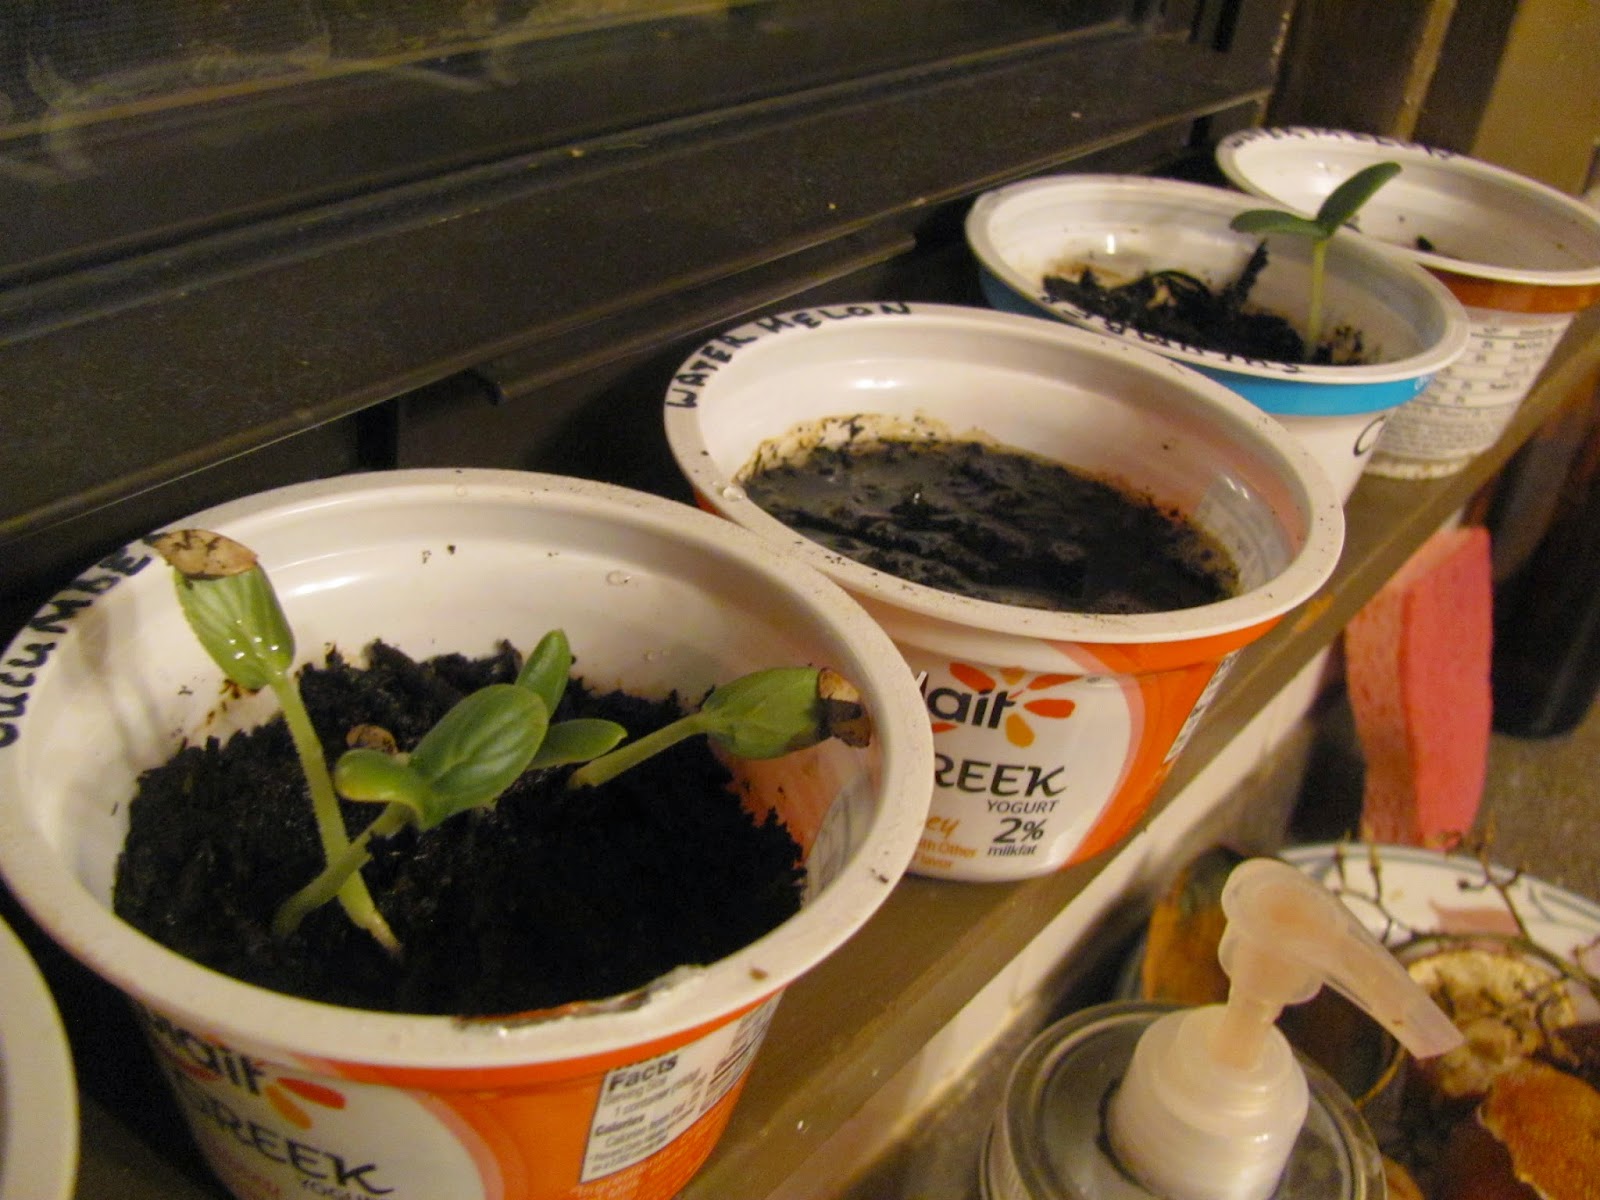
In date order, here is the beginning of me starting some seedlings. I did this March 11th.

Awww, all lined up they’re so cute 8D

For Pi day of course!
A no-fail recipe my mum picked up somewhere, turned out nicely! If I find it I’ll link it.

More adventures in cooking!
D sent me this recipe by The Pioneer Woman to try with the black beans I’d picked up. I did an overnight soak instead of the quick soak she mentions, and I put my crockpot on low all day while I was at work. Also I put carrots in instead of bellpeppers. Turned out delicious!

Came home after a weekend with my grandparents and… sprouts! I’m so excited!

Roses from my garden 😀
These roses were already there, and I’m nooooot totally sure how I feel about the purple one. I always feel like purple roses are fake. Also it blows out pretty quickly. So we’ll see if that one stays. I don’t really have time to replace it anytime soon anyway though 8D

Rug!
This came in just yesterday!
I’m going to stitch it to a towel and use it as a bath mat.

Mmm what else…
I’ve had the worst hankering to rewatch Life on Mars lately, but one I seem to have loaned out my season one set and don’t know to whom, and two even if I had it it’s region two and I don’t have a region free dvd player anymore. Oh and three, even if it were region one, I don’t even have a laptop at the moment so yeah.

Wishful thinking led me to browse Netflix, alas.
Saddened, I decided to just look up John Simm. I watched the mini series “Exile,” it was a wonderfully directed and beautifully acted melodrama. Also it felt weirdly like a prequel to “State of Play,” in that basically he’s the same character.
So theeeen I looked up Philip Glentister and burned through “Island at War.”
I LOVED IT.
Plus it fit perfectly into the 1940s kick I’ve been on! (but didn’t quite fill the hole “Bomb Girls” left behind ;_;)
Makes me want to research All The Things.
Now my sewing/homework viewing is back to “Foyle’s War.”

… but I still want to watch Life on Mars.

Wedding Dress Remake Go!

So I mentioned working on D’s wedding dress, with her permission I’m going to try to blog the process!

This dress is actually a partial remake. Some time ago D bought a dress at a thrift store to use in an underwater shoot, since it had a lovely flowy skirt. That dress was this, in offwhite:

From Disney’s 2008 Wedding dress collection.

Details after the break!

Here’s the before pics that D took:

It’s hard to describe how truly unflattering that bust gathering is.

Anyway, D loves the skirt on this. It’s fabulous it’s true.
But that bodice…
So obviously the solution is to totally remake the bodice! I’ll not post what the goal is, so it can be a surprise!

We spent a few Saturdays in SF getting good fabric matches (thanks Bunny!).
For the sewing, I started out by having D try on my 1912 dress because for the top I’d used the top bit of a prom dress pattern and I don’t recall modifying it much. That fit her really well, so I pulled that pattern out and made a muslin, adding an inch to the neckline so we’d have more freedom there.
Three fittings later, we were happy! (whoops, no pics of the fittings, but you can use your imagination).

In between the fittings I removed the bodice from the skirt, which was really nice ’cause I was able to look at the guts of it and learn some finishing techniques.

Anyway!
Once we had the muslin fit how we wanted, and tested with boning, we drew the seam lines on and pattern making time!

All that hat to be trued/evened out and made to be smooth and matched. Fun times~

Then paper pattern!
I chose to continue the 5/8″ seam allowance from the commercial pattern just to be consistent and to give the itty bit extra of wiggle room, should it be needed.

Then cutting! We have the liner, a stretch taffeta that matched the colour wonderfully, and a silk chiffon overlay, hence all the pins.

Then I cut out a light weight cotton to flatline the bodice.

Almost ready to assemble!
After I sewed those together I went back and trimmed everything even to the cotton, as that’s the most stable fabric of the three.
I’m normally a pretty careful/precise sewer, but I was eeeextra precise with this, ’cause, wedding, no pressure.

Tiny little shavings. Can’t be too careful!

Then sewing! But… the side front and the side back pieces didn’t match! Queue panic. Thankfully I hadn’t tossed any of the muslin pieces, and looks pretty obvious I added extra seam allowance to one piece.

Okay that looks huge there, ’cause perspective, but it’s actually exactly 5/8″.
I’m 95% sure that it’s a case of adding the seam allowance twice but for now I stopped after pressing. Not even clipping it yet, gotta dispel that 5% with a fitting!

Sewalong Challenge #3 Inspiration – Something Vintage Inspired

Vintage inspiration!
So we plotted this challenge to span two months, March and April, thinking that we would probably be making 50s dresses for the 40-50s picnic GBACG is having May 3rd.

Also for me, almost two years ago I saw this dress:

I love stripes, but I love chevrons.
Then pretty shortly after Joann was having one of those 50% off redtag sales and I saw a bolt of stripey baby pink and brown fabric and a bolt of baby blue and brown. The blue though… wasn’t redtagged. But the exact same fabric. So I brought them both to the cutting counter hoping the blue would also be on sale. Sadly, it wasn’t.
But, I’d JUST seen this dress and really liked it, so I bought the pink anyway, and a yard or so of the blue to potentially use as an accent. I already had this Vogue pattern, so excited I began to cut it out.
WELL.
I totally didn’t notice the fabric I got is variegated stripes, and done in such a way it can’t be mirrored. Frustrated I bundled up the fabric and haven’t touched it since.

But now…
I’ve always been fond of this look but the more I researched and watched period things, the more I really really want to do a trouser set instead. Think Katharine Hepburn. This blog has a very good article on vintage trousers.

Also I’m in love with Bomb Girls‘ Bettie McRae:

It’s on Netflix if you haven’t seen it, I really liked it.

Anyway, basically I’m finding I pin lots of fluffy dresses (especially if they have stripes), and I do want to make pretty dresses, but I want to wear the trouser sets.

All that said aaaand, I actually think I’m going to skip this challenge!
First, I’m pretty sure I don’t have any appropriate fabric for a trousers set right now and I just don’t feel like making a dress at the moment.
Second and more important, making D’s wedding dress for May is a waaaaay higher priority, and I need to just focus on that.
I haven’t decided yet if I’ll post about that as I do it or wait until it’s all done.

But I will probably revisit that pink fabric and actually do a 50s dress sometime, ’cause I have it and I need to use up fabric 8D;;

Sewalong Challenge #2 – Complete

So February’s challenge was to make a bag, but specifically from a pattern you haven’t used before. That was the challenging part for me XD I’m not that great at following directions.
As I mentioned in my inspiration post, I chose to do the “Dubstepper” messenger bag by Robert Kaufman.

All excited for my project, I took that picture on Feb 1st!
And that’s really as far as I got until March 7th. Just miscellaneous life things.

A’ight so, process and completed bag!

Materials!
The black is leftover from my Scream of the Shalka Doctor costume, the grey is left over from the Captain Jack Harkness coat I made. Photobucket is being screwy, this isn’t as good a pic but maybe a better link.
The Tshirt is from San Diego Comic Con 2014, at the end of the Game of Thrones Experience they gave you a shirt. At the time I hadn’t watched any, just read it. So I didn’t know what I was getting anyway XD In hindsight I should have gotten a different size to give to my brother. The red lining is plain broadcloth from who knows what and is just because I thought that would be hilarious.

Close ups of the shirt!

 I didn’t know what this was supposed to be. Someone told me The Mountain? But then someone else told me it’s a generic Kings gaurd. Looks cool though.

And the back.
I ended up adding a panel to the top of the flap, because I wanted the Tshirt design to be only on the front. And I didn’t realize until I started putting it together that the piece would fall the way it was going to. And I skipped the handle there since I also skipped the magnetic snaps, and even if I’d put them I feel like they wouldn’t hold if you actually carried it by that handle. Also added piping, ’cause I love piping.
Grading the seams. This bag is SO THICK. I think the amount of interfacing and peltex on this is actually overkill. I definitely won’t be doing it this way again.

Also in putting it together I realized I forgot about the back of the shirt, so I put this for the back of the back, and swapped out the top with a black panel because my greys don’t match 100% (another reason for the piping to break things up.

So I started taking in prog pics, and then I realized I wasn’t really going to tutorial this, the pattern is pretty good at the step by step. This is one of the inside pockets.

Pre-ironing. Because it was so thick I wasn’t able to topstitch the top.
Oh and I added that outside pocket, to add black to that panel and balance it with the back.

This bit gave me some difficulties as well because of the thickness. The instructions say to put it on after the bag is half constructed, the reason for this is for the gusset you just cut it to the width of fabric and when you attach it trim off the ends. I really didn’t like that part of the pattern, it felt like a lot of waste, especially for the interfacing and peltex. And it meant you couldn’t put the strap tabs on while it was flat.
AND there’s a seam in that piece, so if you put it on the way they say, your center seam wouldn’t be centered. I don’t approve of that malarkey (so I didn’t do it that way).

See how stiff it is?
I should note, the pattern also called for peltex in the flap, way overkill. I used some quilting batting instead.

Red lining, appropriate to Game of Thrones I think 8D;;


Oh I also skipped interfacing the strap. If using a cotton I’d interface it, but this was an upholstery weight fabric (more reason for the thickness, but I still think I won’t use peltex and interfacing like this again).

Final pattern notes!
I found it incredibly helpful to number my pieces, which they don’t do. But who wants to write “exterior zipper pocket bottom” on the piece rather than “2”? Exactly.

Anyway, sending it off to my brother for his birthday, so he did get the shirt after all.
But if I’ve overestimated his like of Game of Thrones, to etsy! 8D;;;

Gallifrey 2015

Ah Gallifrey!
I arrived Thursday morning and spent the day with Miss Molly, we went to FIDM and the Getty, I’ll post those pics later.
Friday morning I learned Alex Kingston had a schedule conflict, the weather was so bad where she was filming it put them behind schedule and they wouldn’t let her leave. Sad! 
But it did clear up for me my musings on whether I should get a photo with her or Barrowman or both.
Anyway, this Gally felt very weird to me. I think mostly because Lyn wasn’t there! Even though she wasn’t there last year either, it still just feels strange without her.
I did go to a LOT of panels though. Pretty much all the classic companion ones, and there were a lot! This is the all together panel:

Look how many!
They are just so adorable ;_;

Even though they do tend to tell a lot of the same stories (especially Mr. Hines, since I’ve seen him so many times) their interaction is just so charming I love going to the panels still.

 They just all obviously enjoy being around each other.
Sometimes I can’t handle the cuteness.

 Sometime in the afternoon I changed into Pertwee. I couldn’t decide between a Jo and Pertwee, but last year I saw only one other Three the whole weekend, so I decided to go with that. I did see more Threes this year, like… 4 of them over the weekend.

Jey took these pics for me in the evening before I changed for the evening. 

I really didn’t take anyone’s pic this year! When I wasn’t in a panel I did actually prowl for things to take pics of, but I think it was just the times that I happened to be out and about that nothing really struck my fancy (except for when something did, but I’d be rushing somewhere).
Not that there weren’t lovely costumes, lots of really nice Tens, Elevens, and Twelves. Plus their companions. But I’ve never found Amy/Clara’s clothes particularly compelling.

Idk who took this, but it makes my 6 year old costume look good. Remaking this is definitely on the Someday list.

Makes me a little d’oh that I didn’t bother putting too much makeup on, ends up looking girly :/

Saturday!
Spent the morning in classic companion panels, then off for a pic with Mr. Barrowman!
What a sweetheart!

I’m soooo glad the pic turned out okay ’cause he pulled me into that hug and my mind was going “Bwah what? Ack smile!”
They Gallifrey studios this year and it was muuuuuch better. These people are very streamlined, the tickets have numbers so you know what group to be in. The only thing is the first person who sold me the ticket didn’t explain the process, and told me that my Sunday ticket was the same as a Sat ticket, but the reality was it was if there was time after the Sat people had gone (there was a conflicting panel on Sunday 8D;;). Even so, everyone else was so organized and professional. So so much better than Froggys.

So after my photo I went and changed.

Took this pic ’cause I wanted to see how it looked in natural lighting. If I got enough of my girly makeup off.
Clearly, I didn’t. But I also decided I didn’t really care at that point. Plus, panels.
Before I changed at night Jey took some hallway pics for me though.

So flattering XD
Not.

It’s basically a new costume though! New shirt, different trousers (still storebought trousers though), different waist coat. This fabric was my original waistcoat choice, I almost finished it and then I decided to do the two versions with Lyn and I didn’t have enough of this one. So I had to use my second choice fabric for that duo.

Then I went out for a ladies dinner for Valentine’s day, and so missed the masq completely. 

Barrowman panel!
He was hilarious, as expected.

He moves around soooo much though, it was hard to get a good picture.
I LOVED his story about meeting Lucas, super cute.

I really don’t know what most of these photos are in relation to, he’s super spastic so these are just the ones that weren’t blurry!

This I remember. He asked his assistant for his drink. And then was like wtf why is it orange. They put something in it but he didn’t know what, and it was a little fizzy and he drank it anyway. But he made a big production out of it, it was cute.

Another classics panel!

Cute pic of Ellis George at closing ceremonies. Her ribbon collection was massive, she probably got every single one!

All in all I did have a good time, but mostly because I went to a lot of very enjoyable panels. I didn’t cos much, I didn’t run into many people I knew (I think my general crowd is slowly not going anymore :/) so it was strange in that way.

Still debating on next year!

Adventures in cooking

Sewing/cute stuff soon hopefully. February was a big wash in terms of being productive 8D;;

In the meanwhile, here’s something I did last night!

As some of you know I’m not really big on cooking. In that, I tend to have no idea what I’m doing.
I can follow a cookie recipe!
Everything else is debatable.

So moving on. I went to Grocery Outlet recently and they had yams on sale, $0.99 per yam. So of course I got the largest one I possibly could (gotta get my money’s worth out of that dollar right?).
It was huge:

I’ll let you take a moment to realize it’s about the size of a toaster (it is, it’s curved here so not the best pic but yes).

So I cut it in half, which took FOREVER. That thing was super dense.
And then I cut that in half and as I’m chunking it I realized whoa, this is a lot of yam, and I only own one pan.
So I decided to only bake half of it, and that half I split in half to do one sweet and one savory.

By the way, this is totally not a tutorial/what to do. This is more documenting my experiments ’cause I don’t know what I’m doing.

The left half I put chunks of butter, and then was pretty liberal with brown sugar and cinnamon.

The right half I put olive oil and looked at what spices Lydia gave me, which was Allspice and a Not!Oregano. Probably you know what those are buuuut I didn’t. So I tasted them both and was like “Uhhh… okay!” and sprinkled them both what I thought was liberally. Then I squeezed a lemon over it. And then I quartered another lemon (I have so many lemons @.@) and stuck them in, ’cause I remembered seeing a recipe on pinterest where they baked the lemon in. 

Wrapped up the foil, and baked!
It smelled sooooo good while it was baking.

Looks good!
Problems:
For the sweet side the amount of sugar I used was more than the butter or something, ’cause it stuck.
For the savory side either I just didn’t use enough oil, or lemon counteracts it? It also stuck.

Still, plenty to eat. So I put it on my plate with spinach, still smelling wonderful, feeling super excited to eat this and taste the differences and feeling very adult.

Couldn’t taste the difference.
Both were very moist and very sweet.
I don’t know if this yam was just exceptionally sweet, or my getting over a cold dulled any savory, or I just need to pour the spices on, but in any case they tasted virtually the same.
The one difference was the lemon! One of the savory pieces I ate had been right next to a lemon wedge, as in touching. It turned out really nice. That one piece.
Not that it all wasn’t niiiiice, it just wasn’t what I was expecting.
Gonna hit up my cooking friends for advice ;_;

Anyway, I got a bedframe:

Featuring another of my gramma’s quilts.
Goes well with the penguins.

Kitchen Weekend Project

Departure from sewing to do a home improvement post!

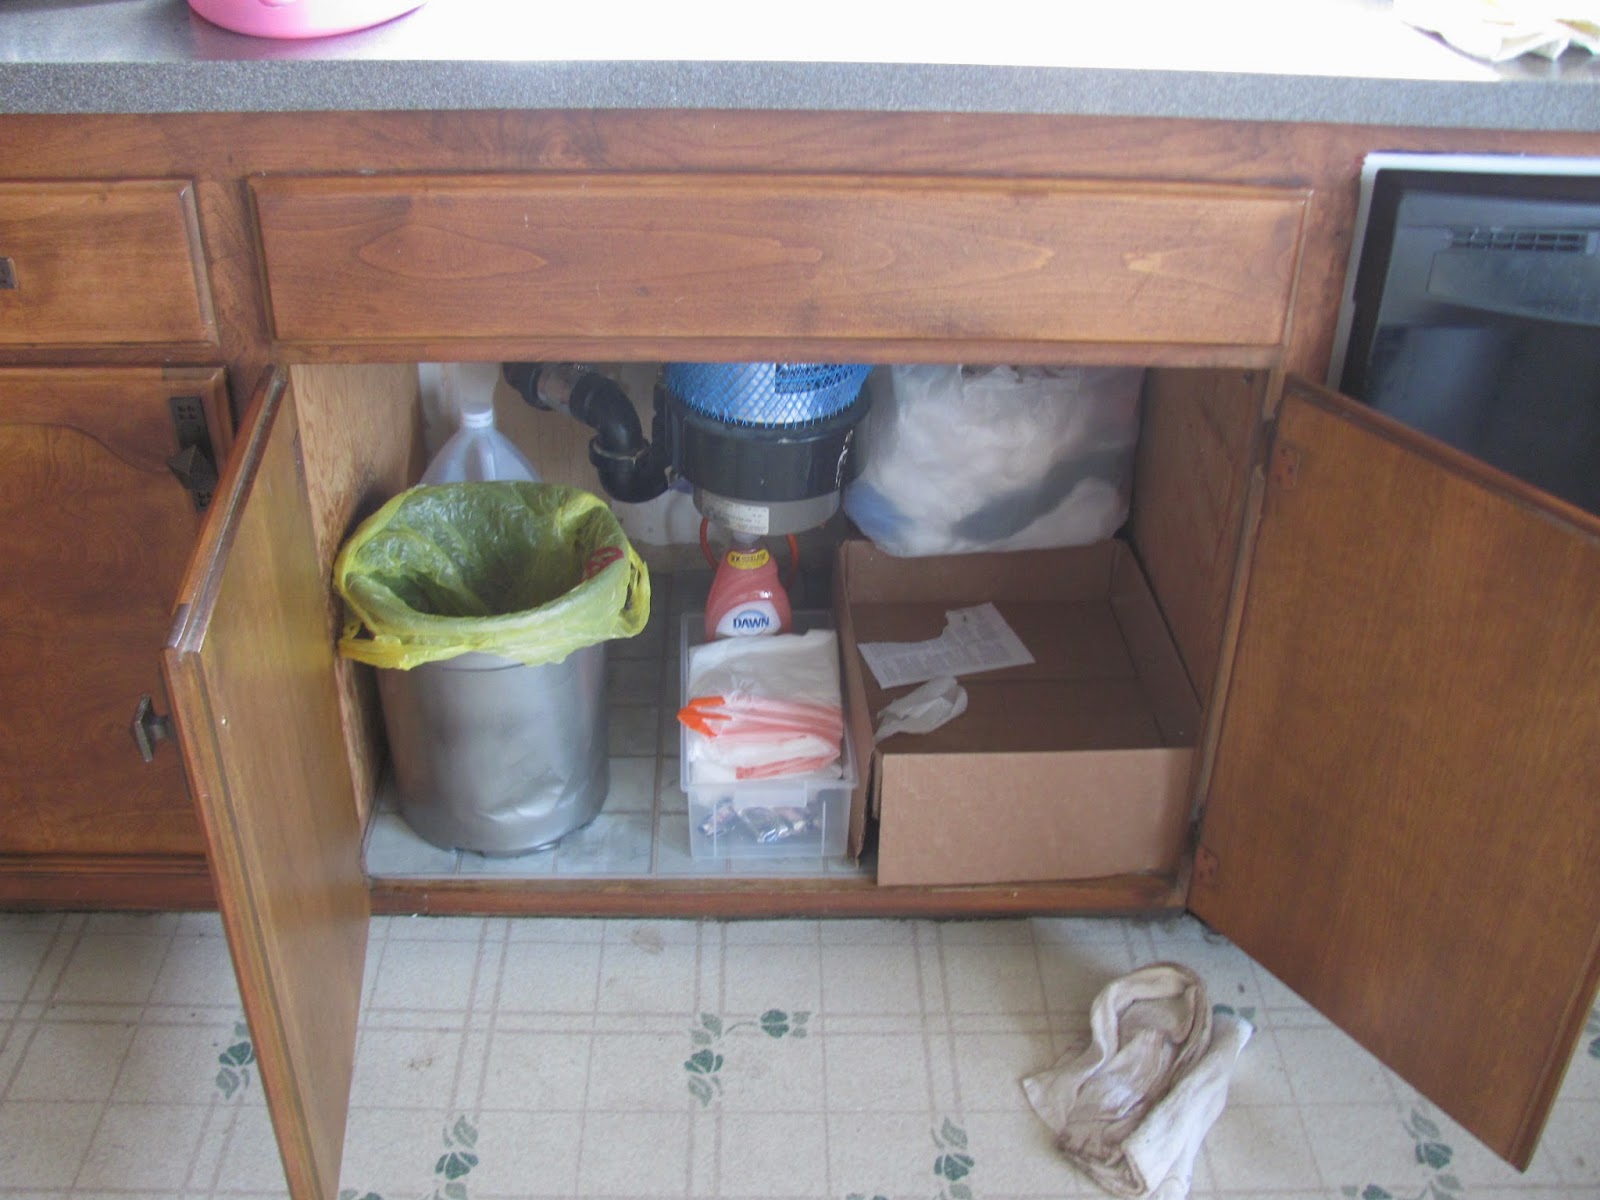
So I saw this pin some time ago about making the undersink area pretty, and thought hey I can do that!

‘Cause clearly, under my kitchen sink could use some prettification!

First thing was to clear it out and set up.

I swept it out and then used my mum’s steamer to do a nice deep clean.

It was totally disgusting in there lemme tell you.

Of course after steamcleaning, it was quite damp! So while it dried I moved outside and spray painted this plastic bucket that I’d washed earlier that morning.

This bucket came from a dwarf tree my mum had planted, and she’d used it to transport some plants to my house. It’s not super sturdy, but how sturdy does it need to be? Not very!

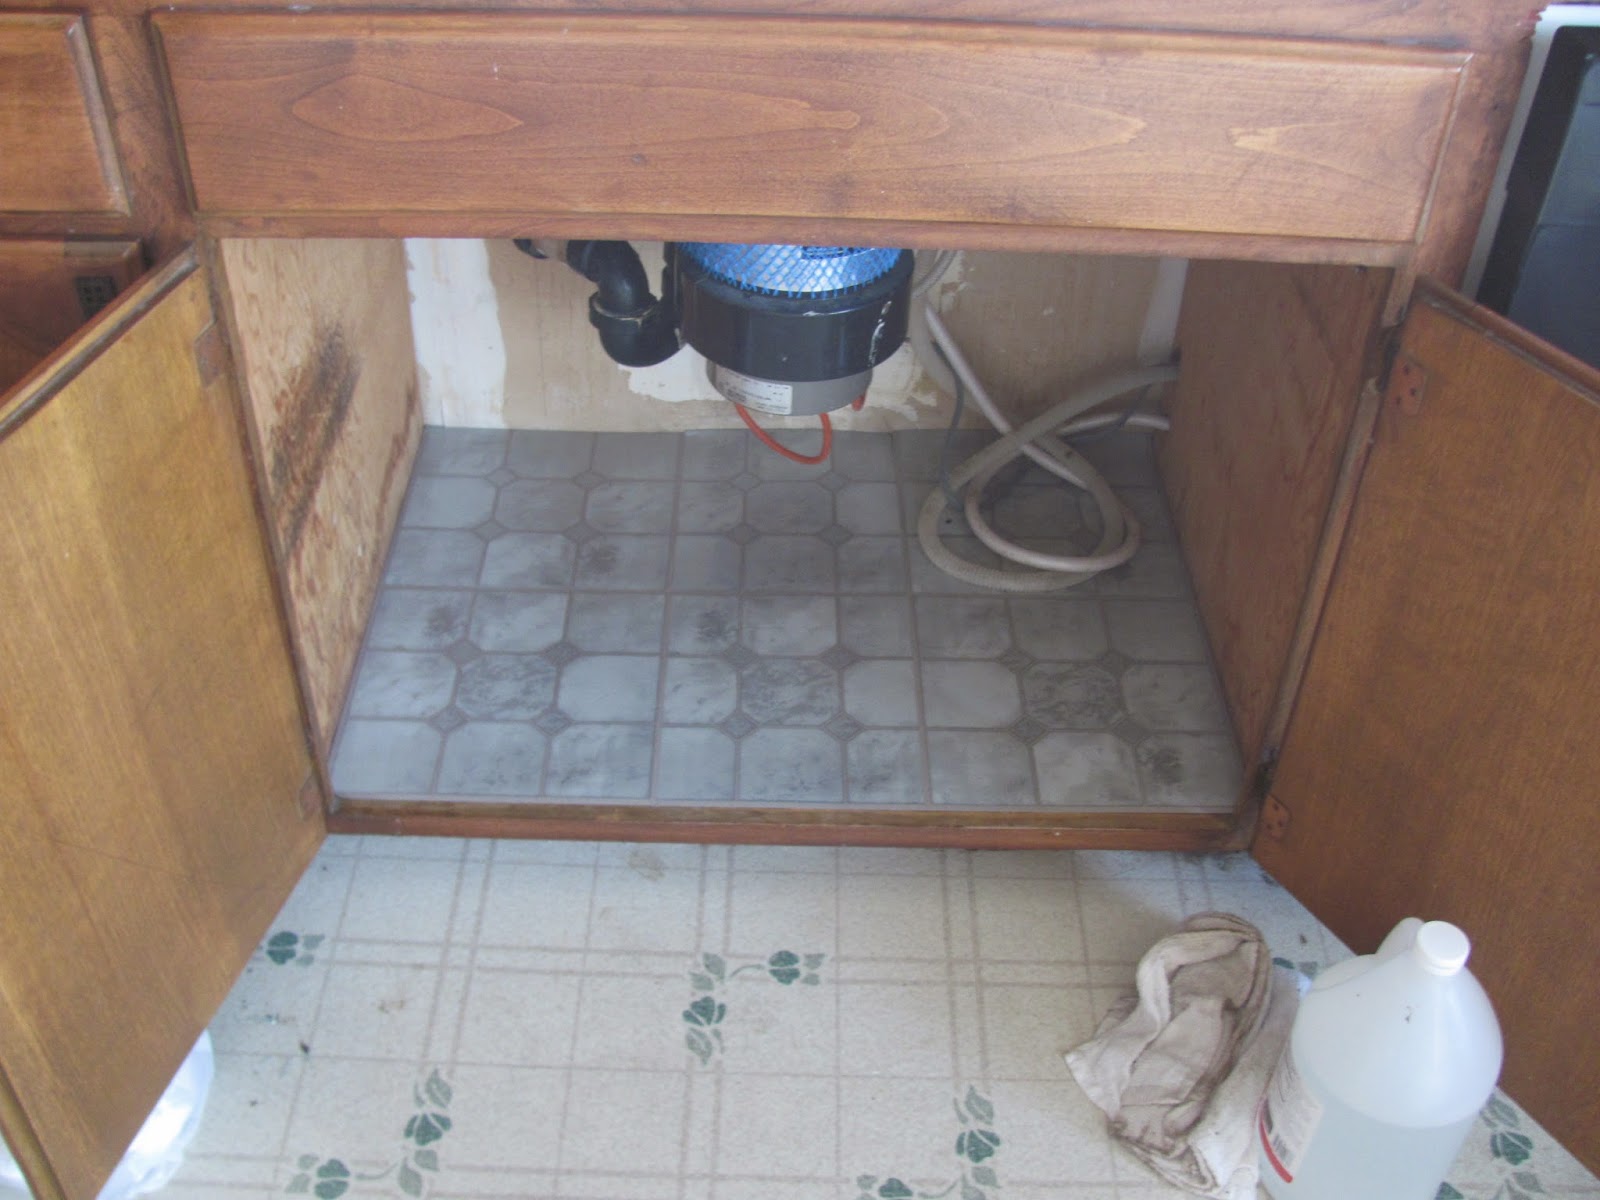
Anyway, eventually it was getting drier under the sink. I’d bought six 1′ stick and press laminate tiles from Home Depot (this one actually). Well my cabinet isn’t 3×2′ even, so I had to do some trimming. Due to the design I chose, I ended up trimming both sides of the middle tile.

It ended up being super easy! After I measured and marked, I just ran my exacto knife along the line to score it.

Then it pretty much just snaps!

It’s so easy to snap that actually you have to be really careful. I was holding one tile by the corner while I peeled the backing off, and it snapped in my hand!

I put that snapped corner in the corner 8D

Brought in my newly painted trashcan and… done!

Oh! And here’s that pin I saw. I didn’t actually click it, I just saw the pic and thought “Good idea!” so she probably has more ideas and method there!
Actually… maybe I should check it out for myself 8D;;