D’s Wedding Dress Progress 4

Plugging away on the dress! I’m at a stage where there’s a lot of hand work so it the progress looks very slow and hasn’t been worth posting about. I’m in a (hopefully) final push right now, I’m trying to finish by this weekend so D has time to get it to the dry cleaners and I have time to catch up on my Arabic homework before my class is over (I keep telling myself it’s just for fun and the grade doesn’t matter but… yeah no).

Anyway, I realized I actually hadn’t posted as much as I thought, so I *do* have something to post about 8D

I want to post more garden/produce pics though, ’cause it makes me feel Hobbity, so, later.

Right so, wedding dress.

After that stage I had D come over and we pinned lace on all over.

Looks nice right?


Actually it turned out really different.
‘Cause after that we turned towards the back.
 

And in the back we wanted a much more symmetrical look.
Then we decided that due to that we needed a more symmetrical look in the front.

So some things stayed, and some things ended up changing.

I had to take each piece of lace of bit by bit and take photos as I did so I’d remember what bit went where, that part of slow going.

LOTS of pics like this.

Then we had to do quick skirt fitting, since it’d be easier to do that without all the lace bits.

The skirt is just basted on here.

After marking height and such I took that baby right off ’cause man is it unwieldy.

And then the slow slow process of hand tacking bits of lace all about.

This is from way earlier this month, I’m almost completely done w/ the lace now, but I still need to tack the lining to the zip, put hook and eyes in the appropriate places, add the buttons, attach the skirt lining and all those myriad finicky finishing things.

I probably won’t properly post about it again until it’s done, so close!

Wedding Dress Progress 3

Okay so, where did I leave off….
I think at the lining!

So after making all the adjustments on the shell, I turned towards the lining.
I took another look at the original bodice and noticed they even flatlined the lining, I’m not sure whyyyyy, I’ve never heard of that, but if it’s good enough for Disney, it’s good enough for D!

So last minute flatlined all the lining with a light weight cotton (which, ugh, means I’ve cut this bodice pattern out 5 times not including muslins), while I don’t really get why they did that I don’t mind because I like having a fabric you can trust! Instead of the flimsy slippy stuff this whole thing is made out of.

Beautiful dissimilar curves ;_; Probably the best princess seams I’ve EVER done, and of course it’s the lining.

Then I was debating putting a waist stay in, wondering if I really neeeeeded it, but I fell back on “Do it like Disney” and stole the original waist stay to put in.

Feeling pretty productive!

Check out these ADORABLE scissors my gramma got me!
They look right at home with the lace 😀

Lining aaaalmost done, time for mass amounts of clipping and adding the boning.

Inside, boning added, clipping done, pressing in progress.

Outside (well, I guess technically this is the inside, since it’s the lining…), same stage.

Pressed all that, sandwiched the netting top in, and another fitting!
Fitting went really well!

So understitched the lining.

Then popped by AJ’s to give it a proper pressing with a proper ironing board 8D;;

Stuck it on her dress form to get some pics before the next stage! It looks a little lumpy in places here, but it fits D great so I’m sure that’s just the different form.

More to come!

Wedding Dress Progress

Okay! So I checked the fit on D, and confirmed yes, I had added 5/8″ twice. Better than not adding at all right?
But!
Then we had to refit some things! Minor, 1/8″ here and there. But whyyyy.
We did three mockups. Three. I don’t understand.
But after being confused, you just have to roll with it!

I trimmed up all the little pieces, and onward!

The adjustments I made to the pattern are in pink, except that cross at the bottom of the middle piece, I did it backwards at first >.>
And then I went back to finishing the bodice.

Prepping my rigilene!

After I ironed it I dumped a heavy book on it to flatten it out.
I got my rigilene from Zipperstop on etsy, I’ve never actually used rigilene before but it was used on the original dress so I did some research and determined it was just as good as poly boning and possibly better, so I wouldn’t be out anything by trying it.
I loooooove it!
It’s tiny rods of plastic woven together, so it will lay more flat than poly boning and will move with you. It also curves better and is sewable!

SO NICE.
I sewed it to the seam allowances for the shell.

Shell all done!
I ironed more and trimmed after that.

The other thing we did while I had her was pinned a bunch of muslin on her while she was wearing the bodice, to create the illusion neckline.

It’s a little hard to see here, but I traced off each side of the pattern and then split the difference with the pink line.

Then I added seam allowance, I added an inch so we’d have wiggle room for the next fitting!

Wedding Dress Remake Go!

So I mentioned working on D’s wedding dress, with her permission I’m going to try to blog the process!

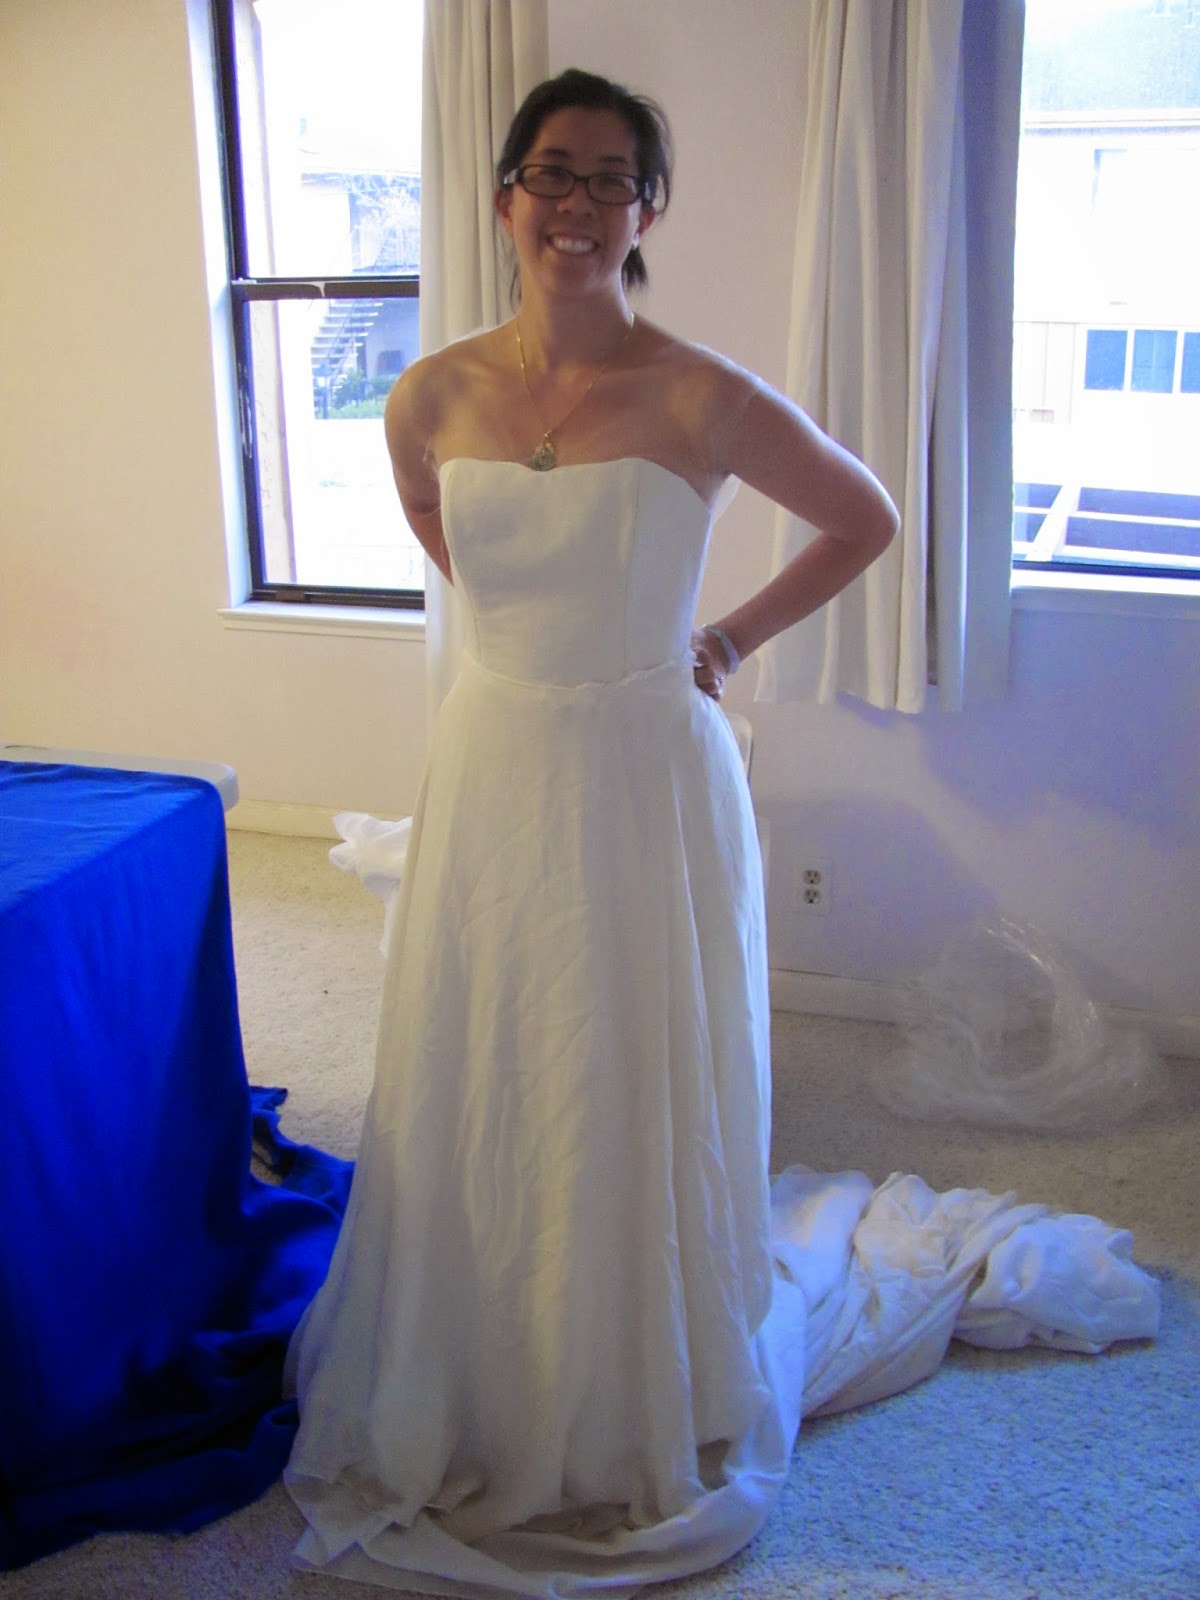
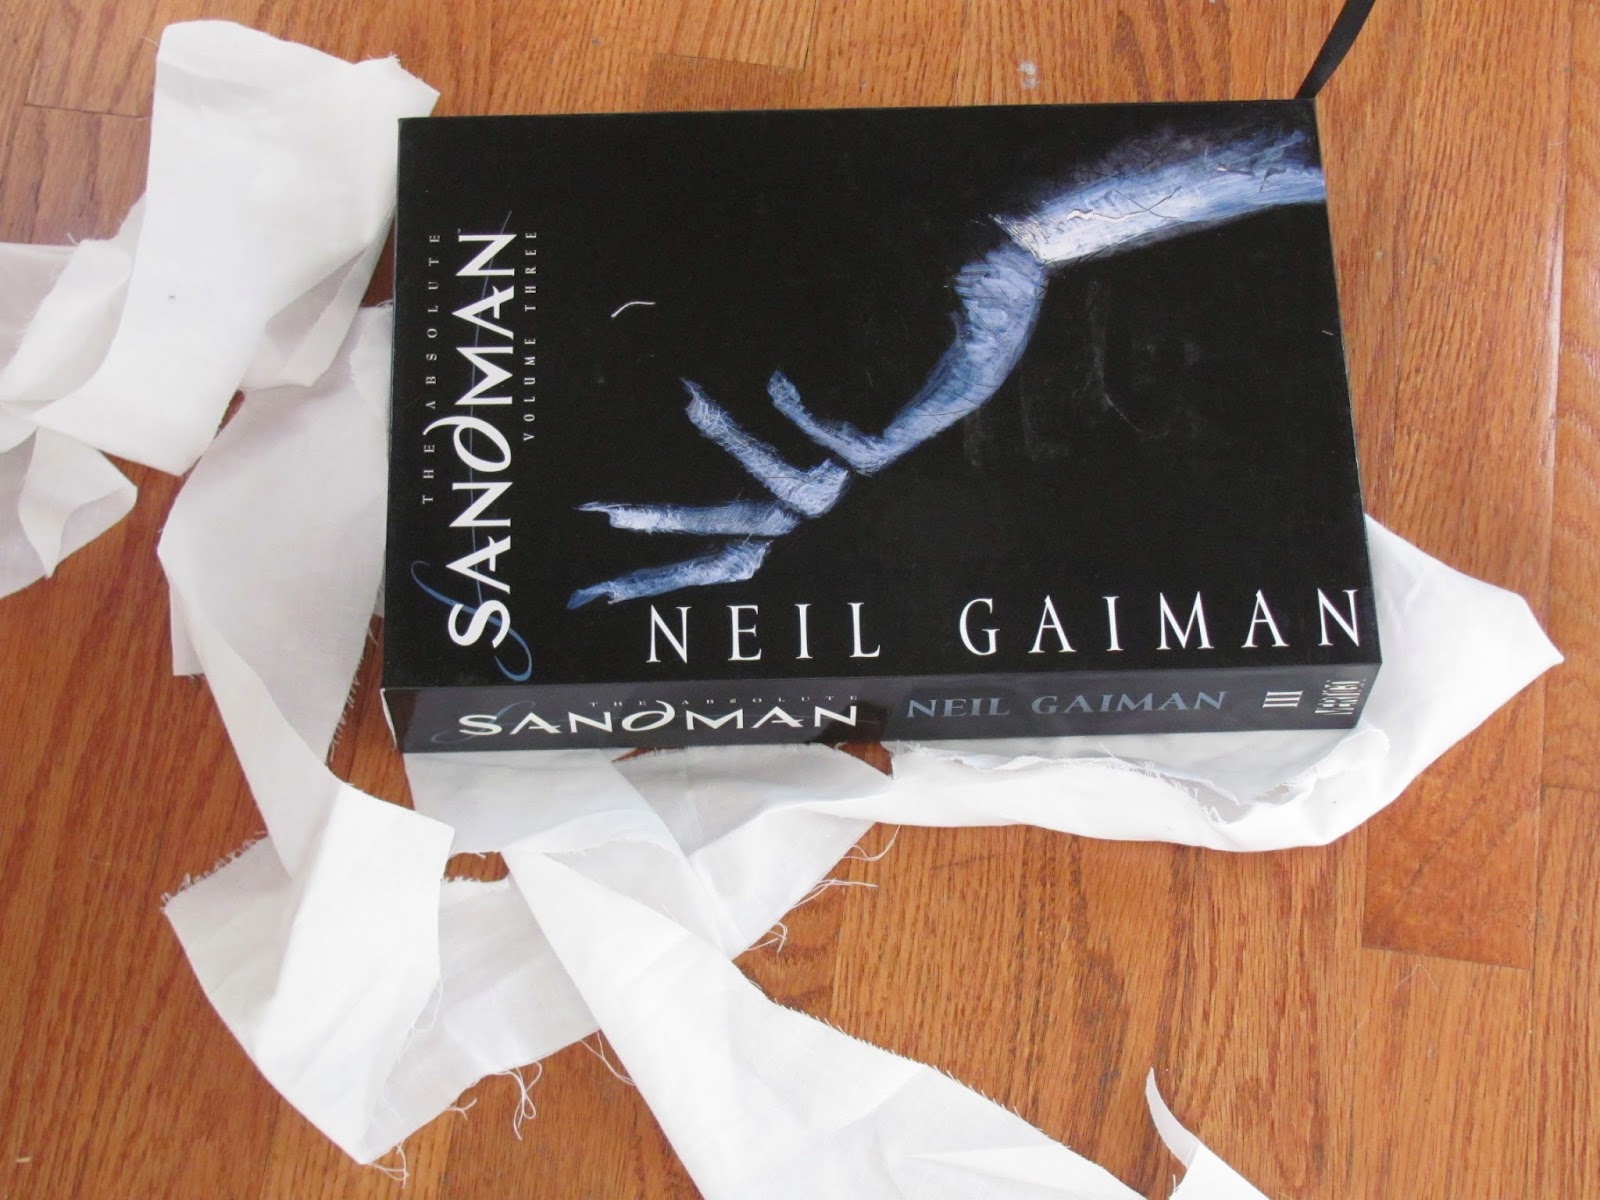
This dress is actually a partial remake. Some time ago D bought a dress at a thrift store to use in an underwater shoot, since it had a lovely flowy skirt. That dress was this, in offwhite:

From Disney’s 2008 Wedding dress collection.

Details after the break!

Here’s the before pics that D took:

It’s hard to describe how truly unflattering that bust gathering is.

Anyway, D loves the skirt on this. It’s fabulous it’s true.
But that bodice…
So obviously the solution is to totally remake the bodice! I’ll not post what the goal is, so it can be a surprise!

We spent a few Saturdays in SF getting good fabric matches (thanks Bunny!).
For the sewing, I started out by having D try on my 1912 dress because for the top I’d used the top bit of a prom dress pattern and I don’t recall modifying it much. That fit her really well, so I pulled that pattern out and made a muslin, adding an inch to the neckline so we’d have more freedom there.
Three fittings later, we were happy! (whoops, no pics of the fittings, but you can use your imagination).

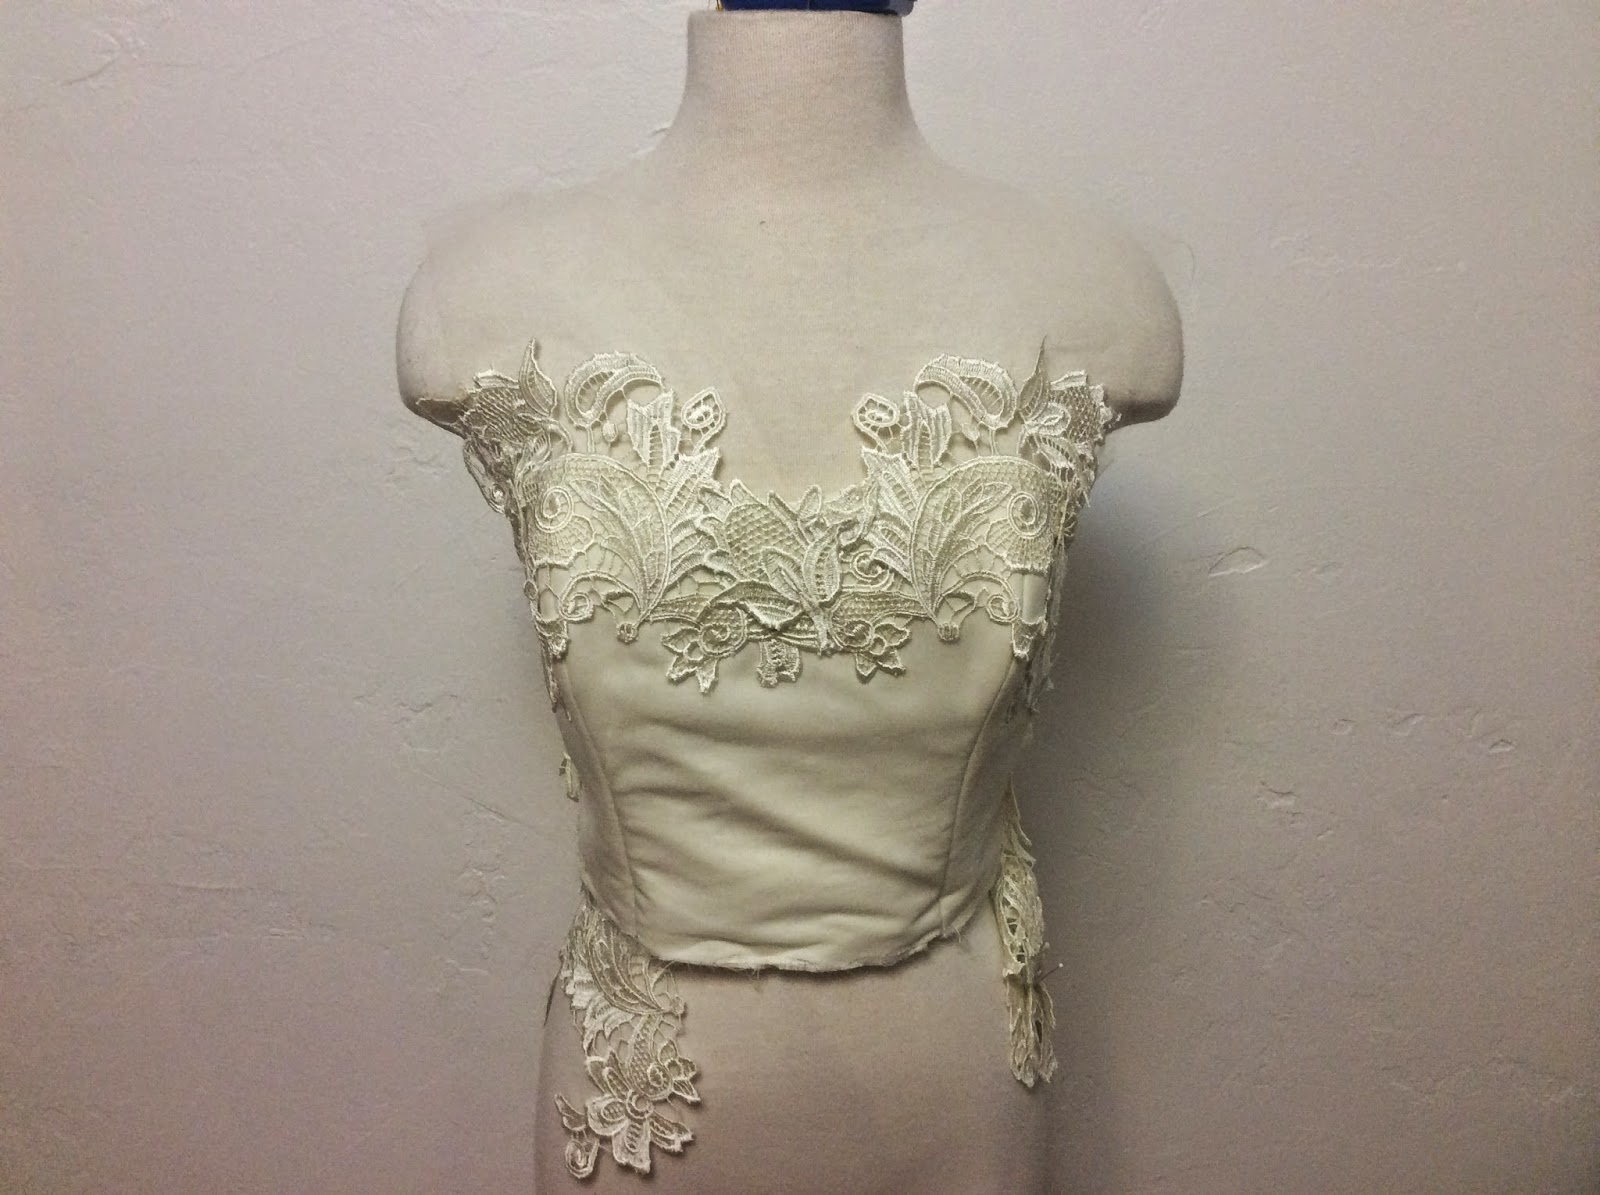
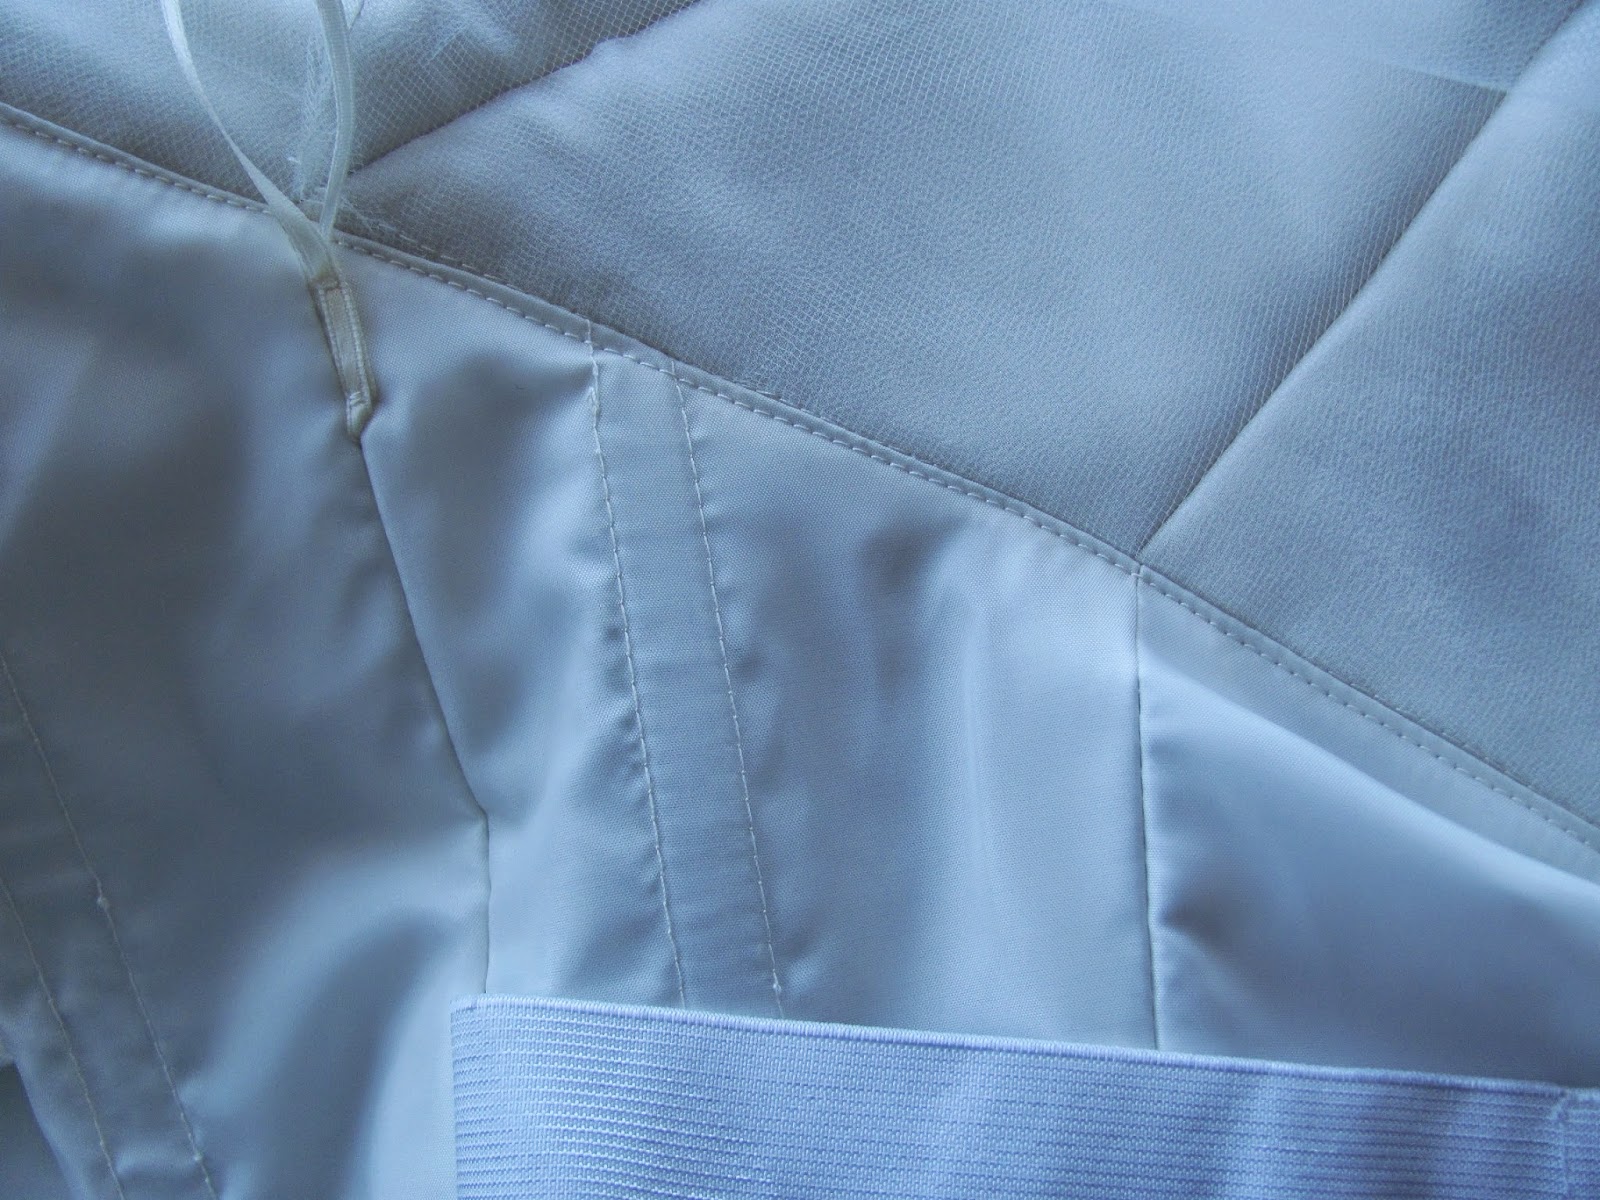
In between the fittings I removed the bodice from the skirt, which was really nice ’cause I was able to look at the guts of it and learn some finishing techniques.

Anyway!
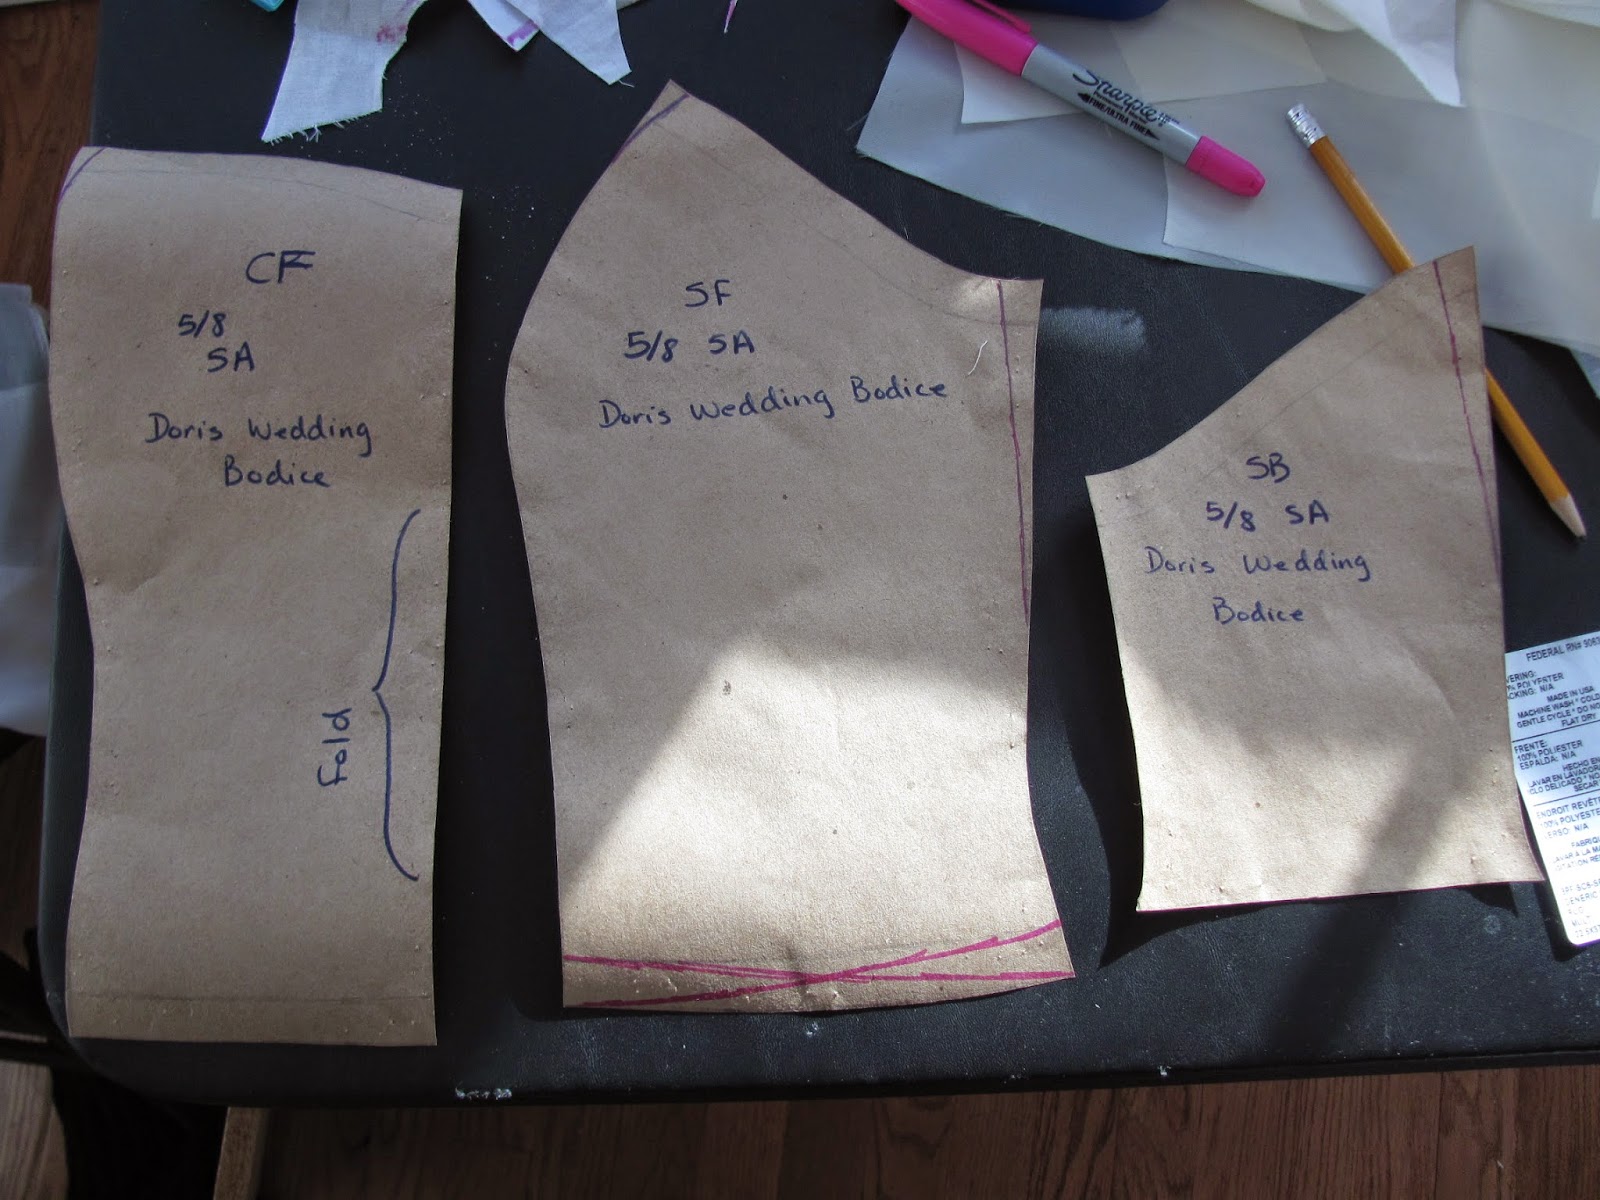
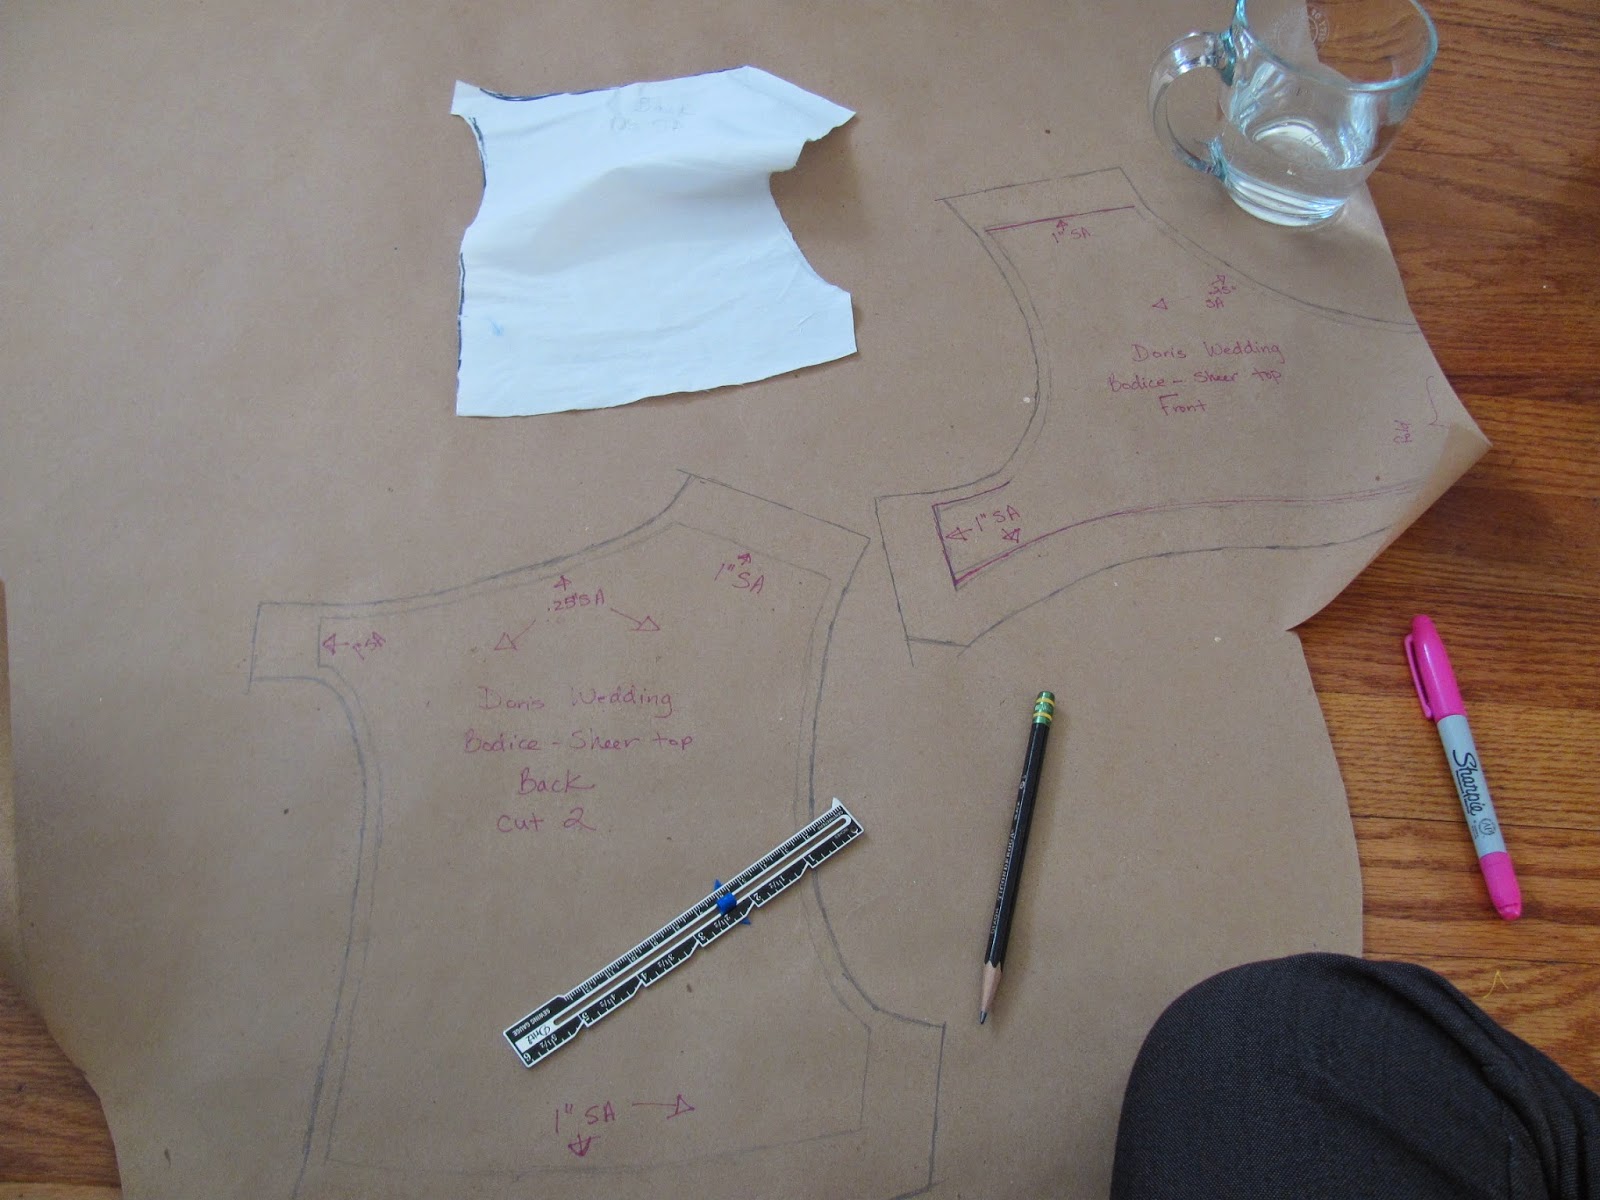
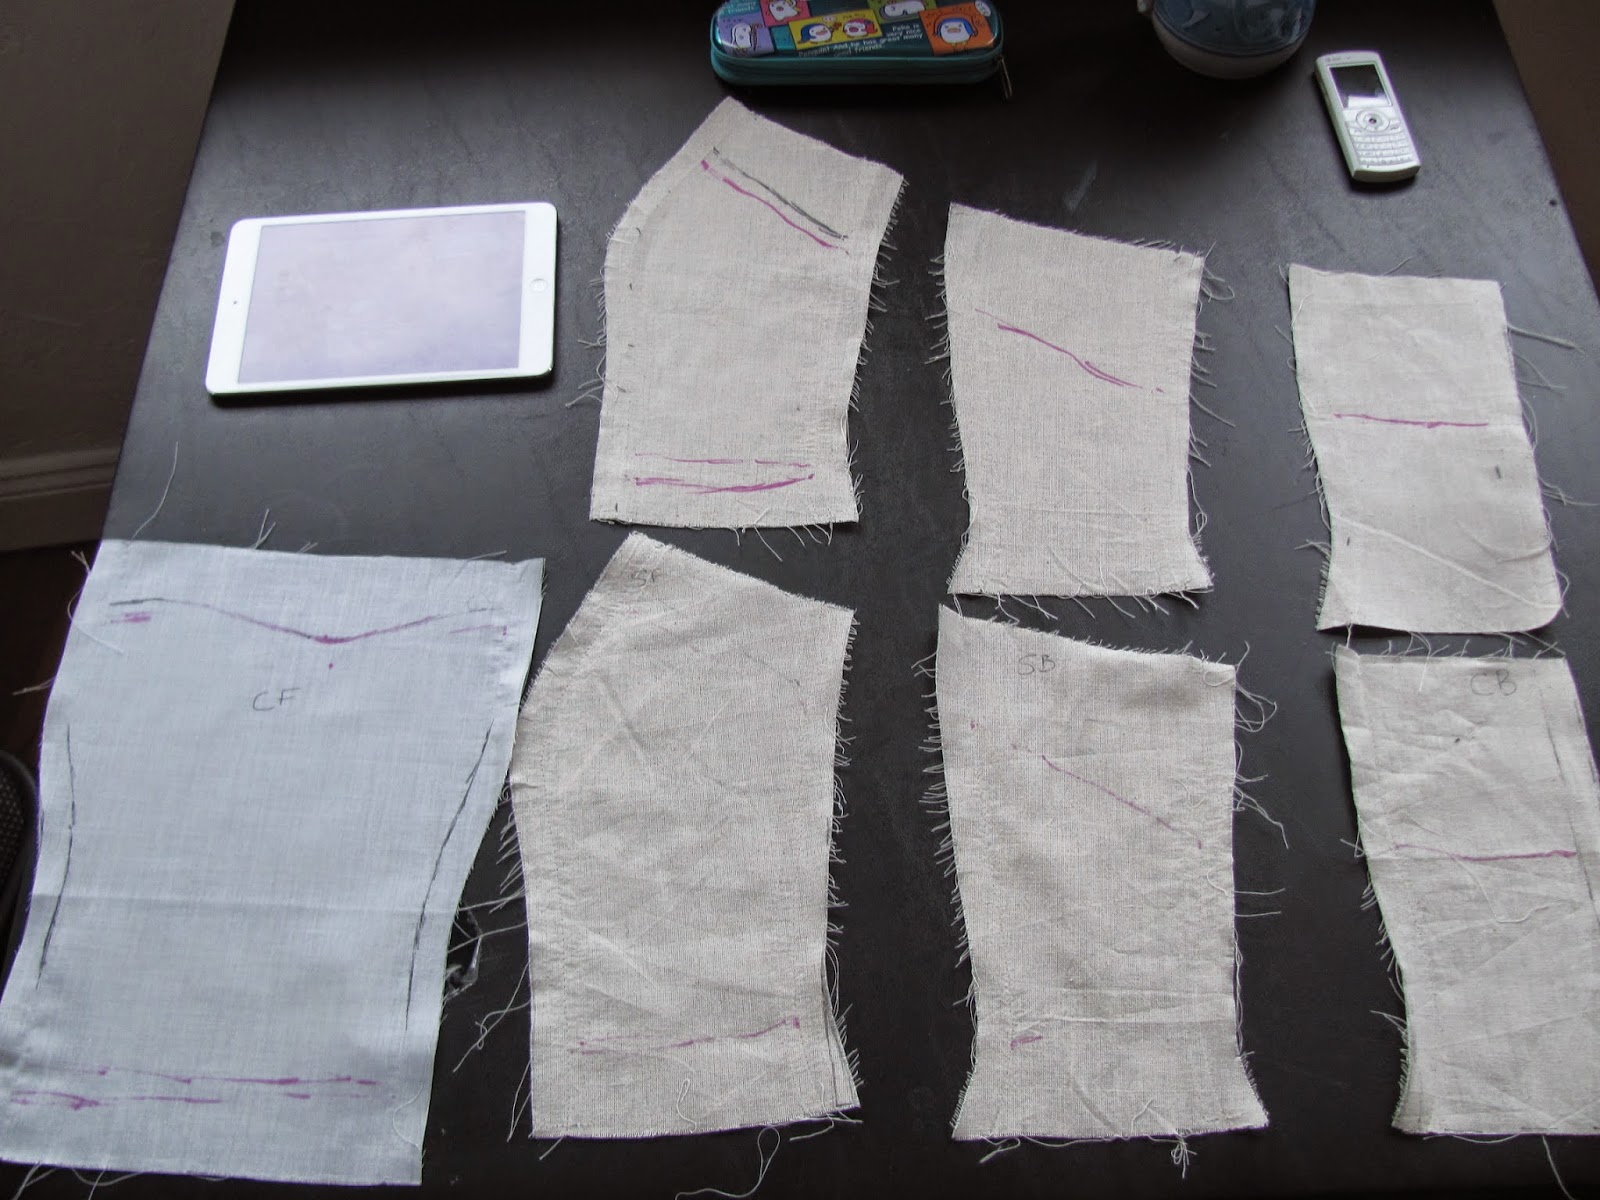
Once we had the muslin fit how we wanted, and tested with boning, we drew the seam lines on and pattern making time!

All that hat to be trued/evened out and made to be smooth and matched. Fun times~

Then paper pattern!
I chose to continue the 5/8″ seam allowance from the commercial pattern just to be consistent and to give the itty bit extra of wiggle room, should it be needed.

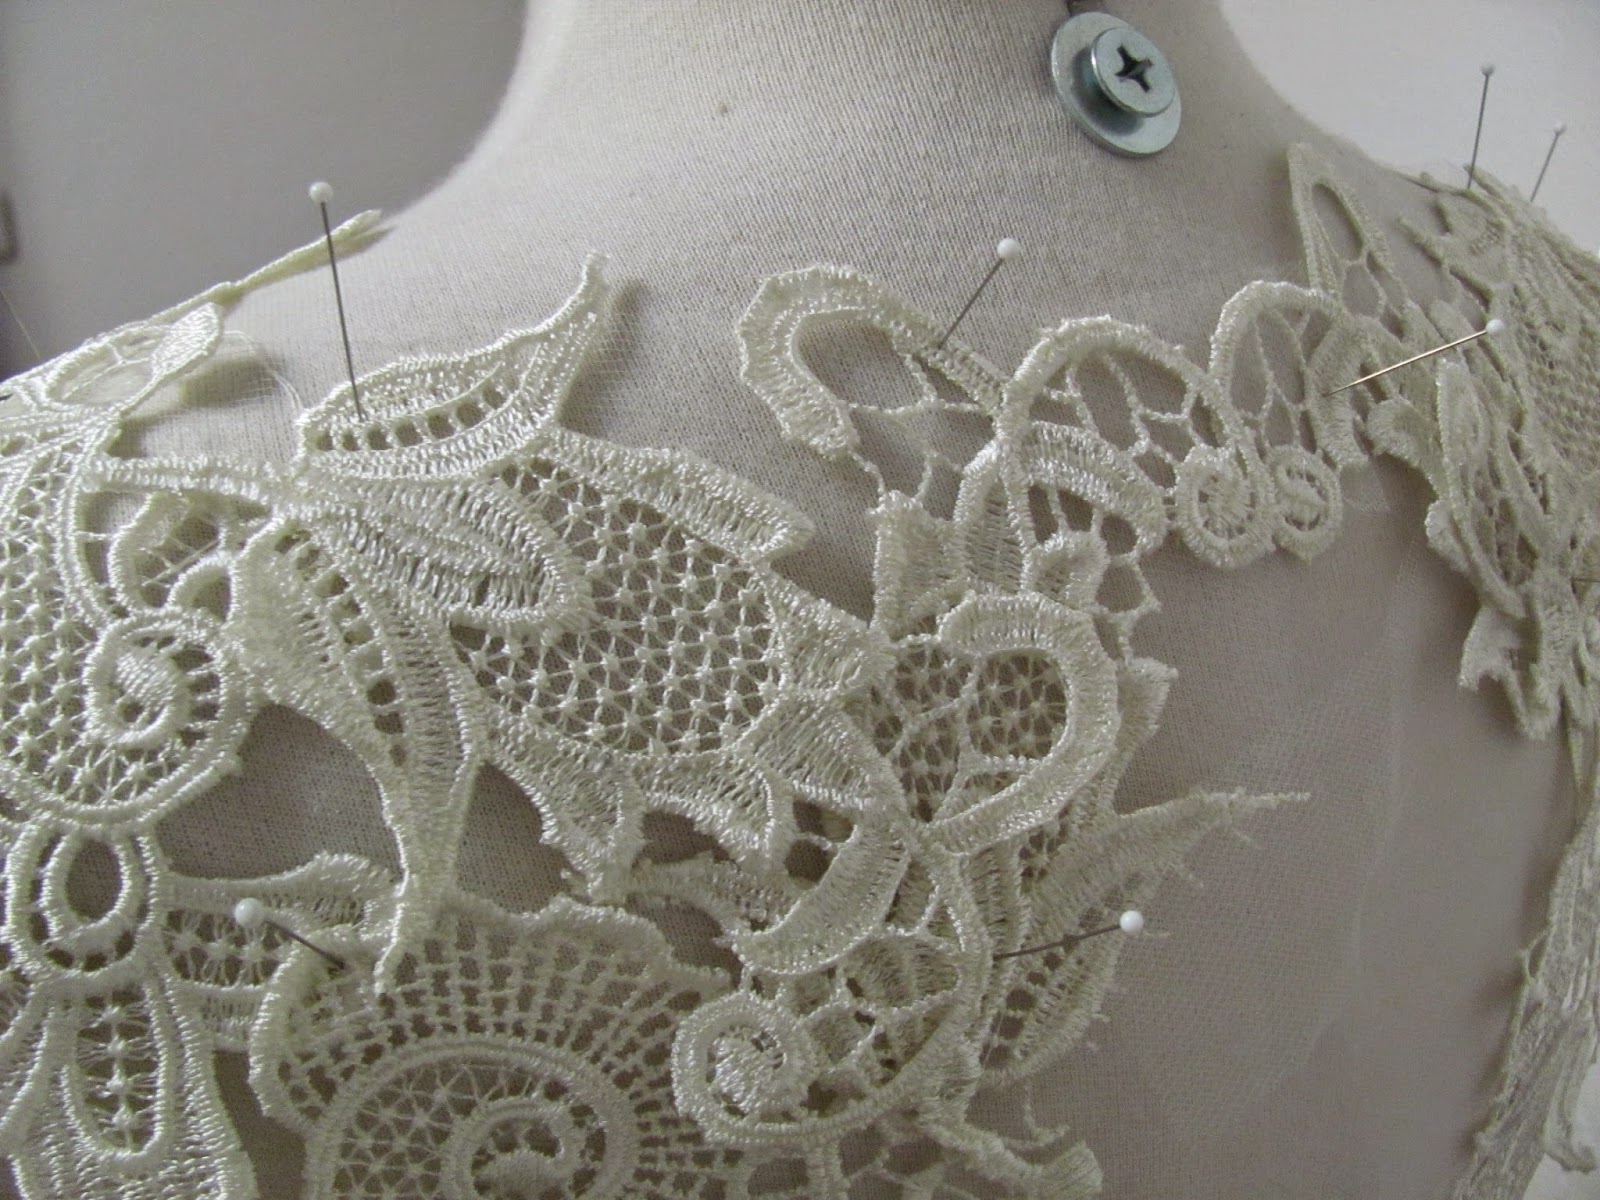
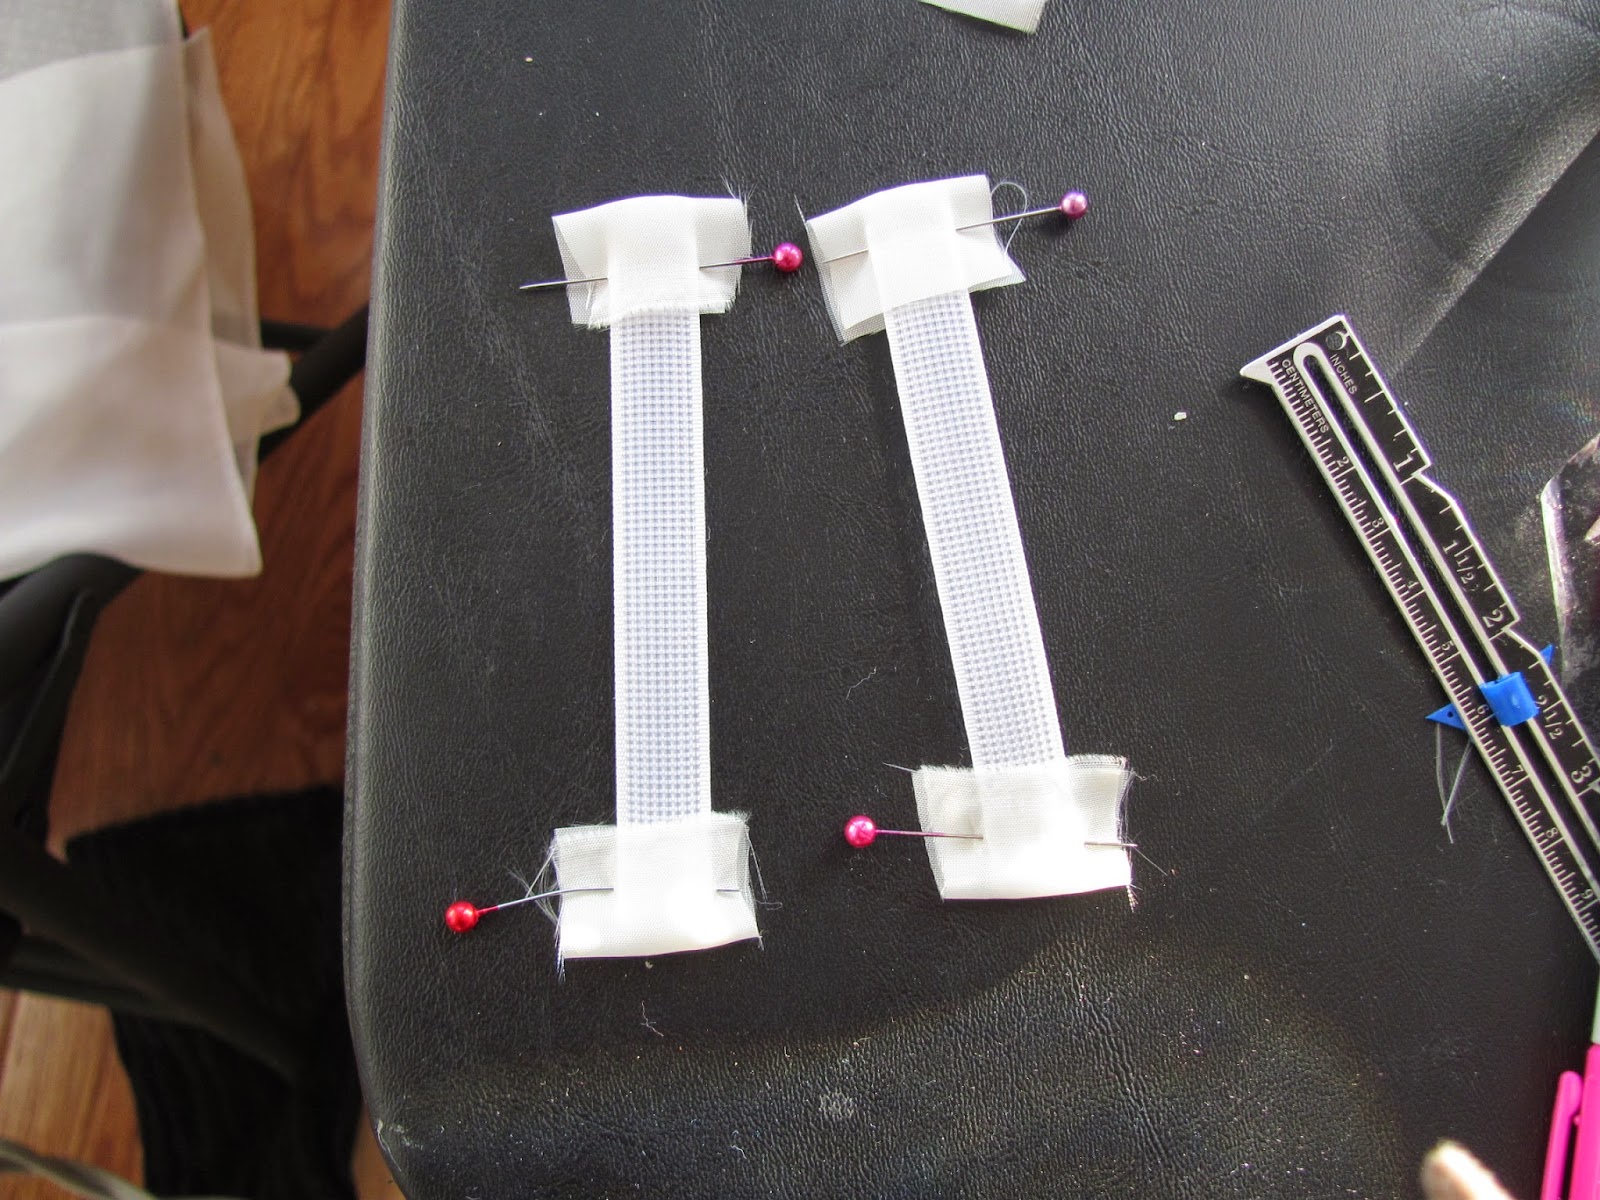
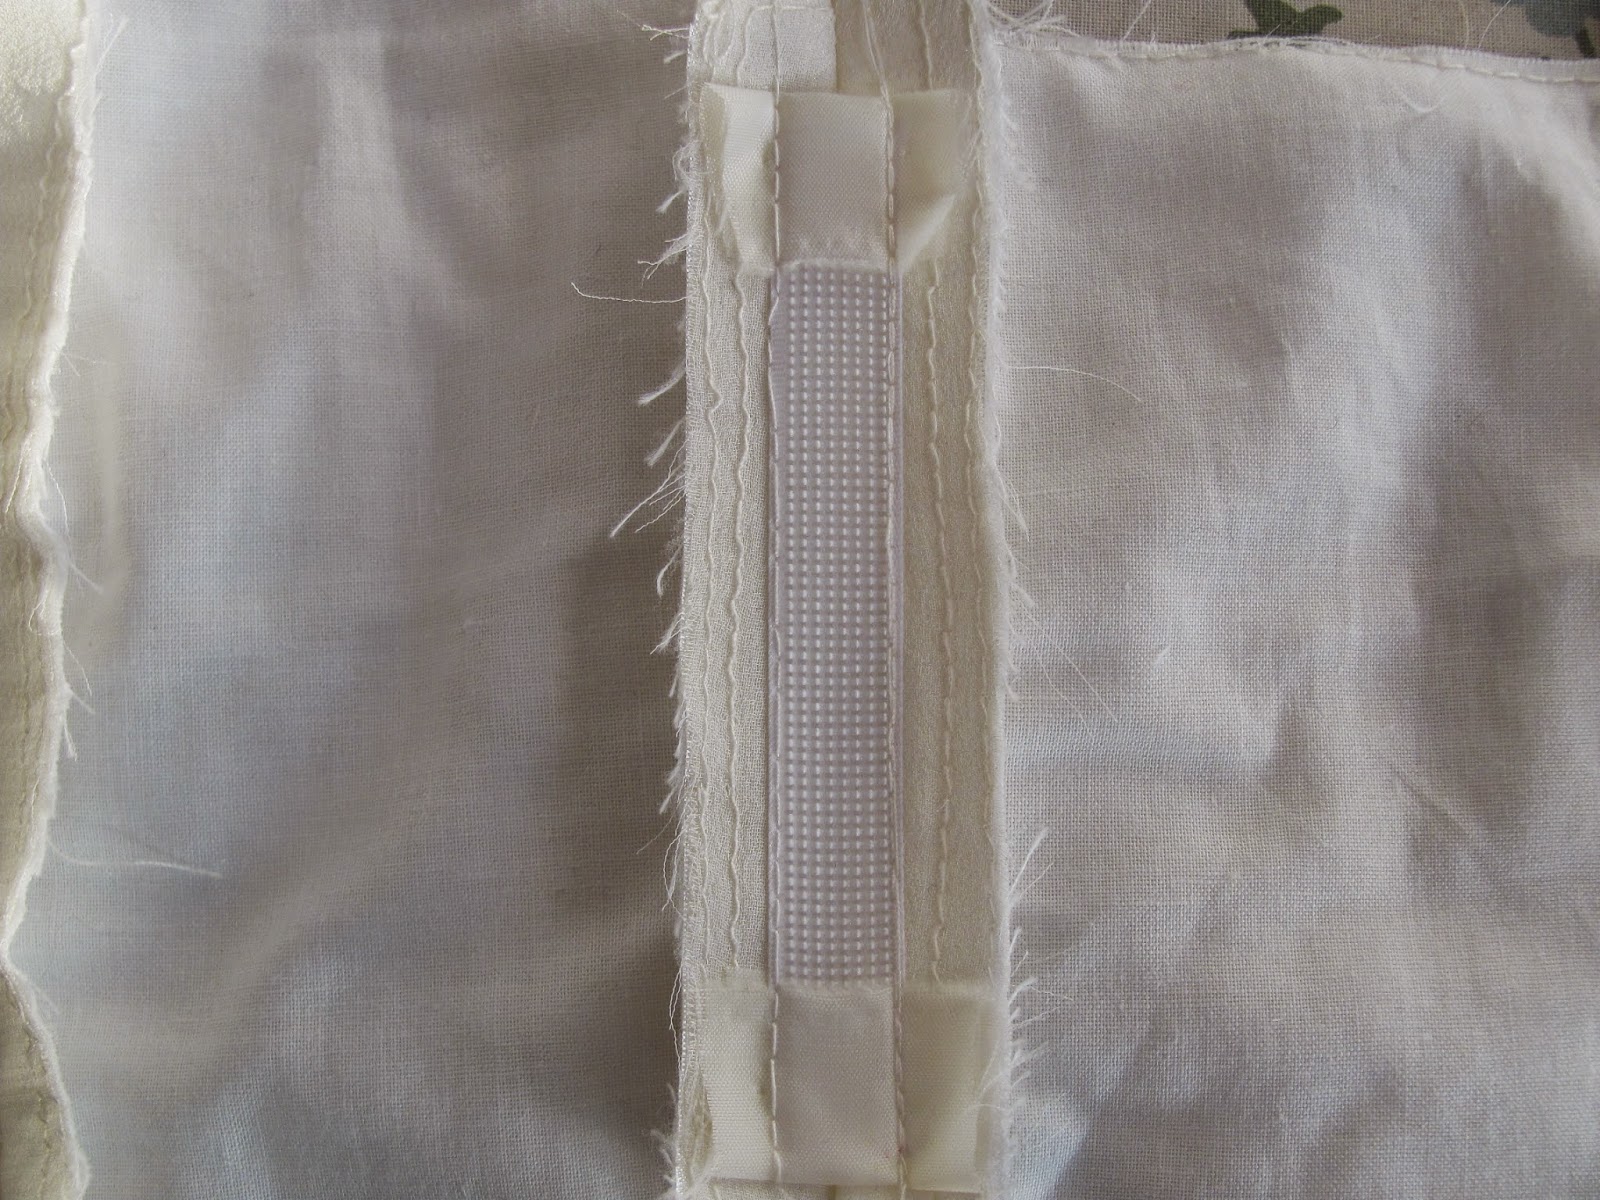
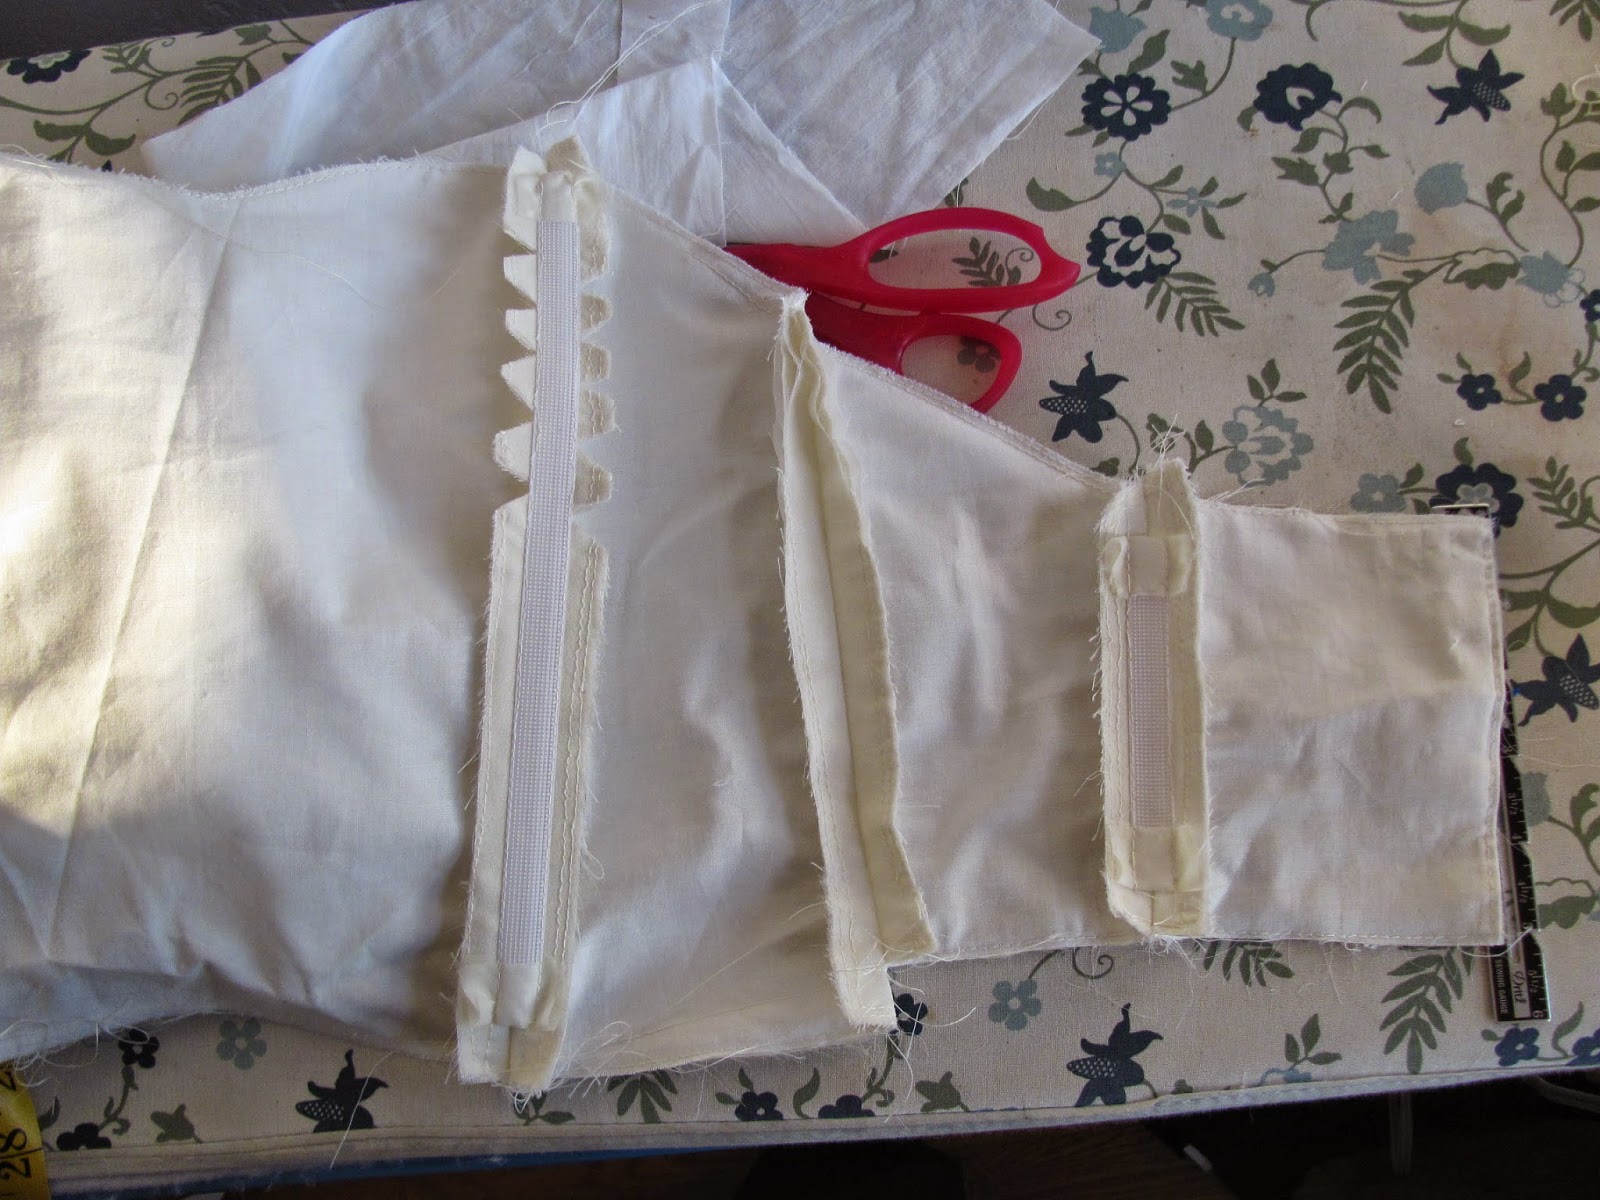
Then cutting! We have the liner, a stretch taffeta that matched the colour wonderfully, and a silk chiffon overlay, hence all the pins.

Then I cut out a light weight cotton to flatline the bodice.

Almost ready to assemble!
After I sewed those together I went back and trimmed everything even to the cotton, as that’s the most stable fabric of the three.
I’m normally a pretty careful/precise sewer, but I was eeeextra precise with this, ’cause, wedding, no pressure.

Tiny little shavings. Can’t be too careful!

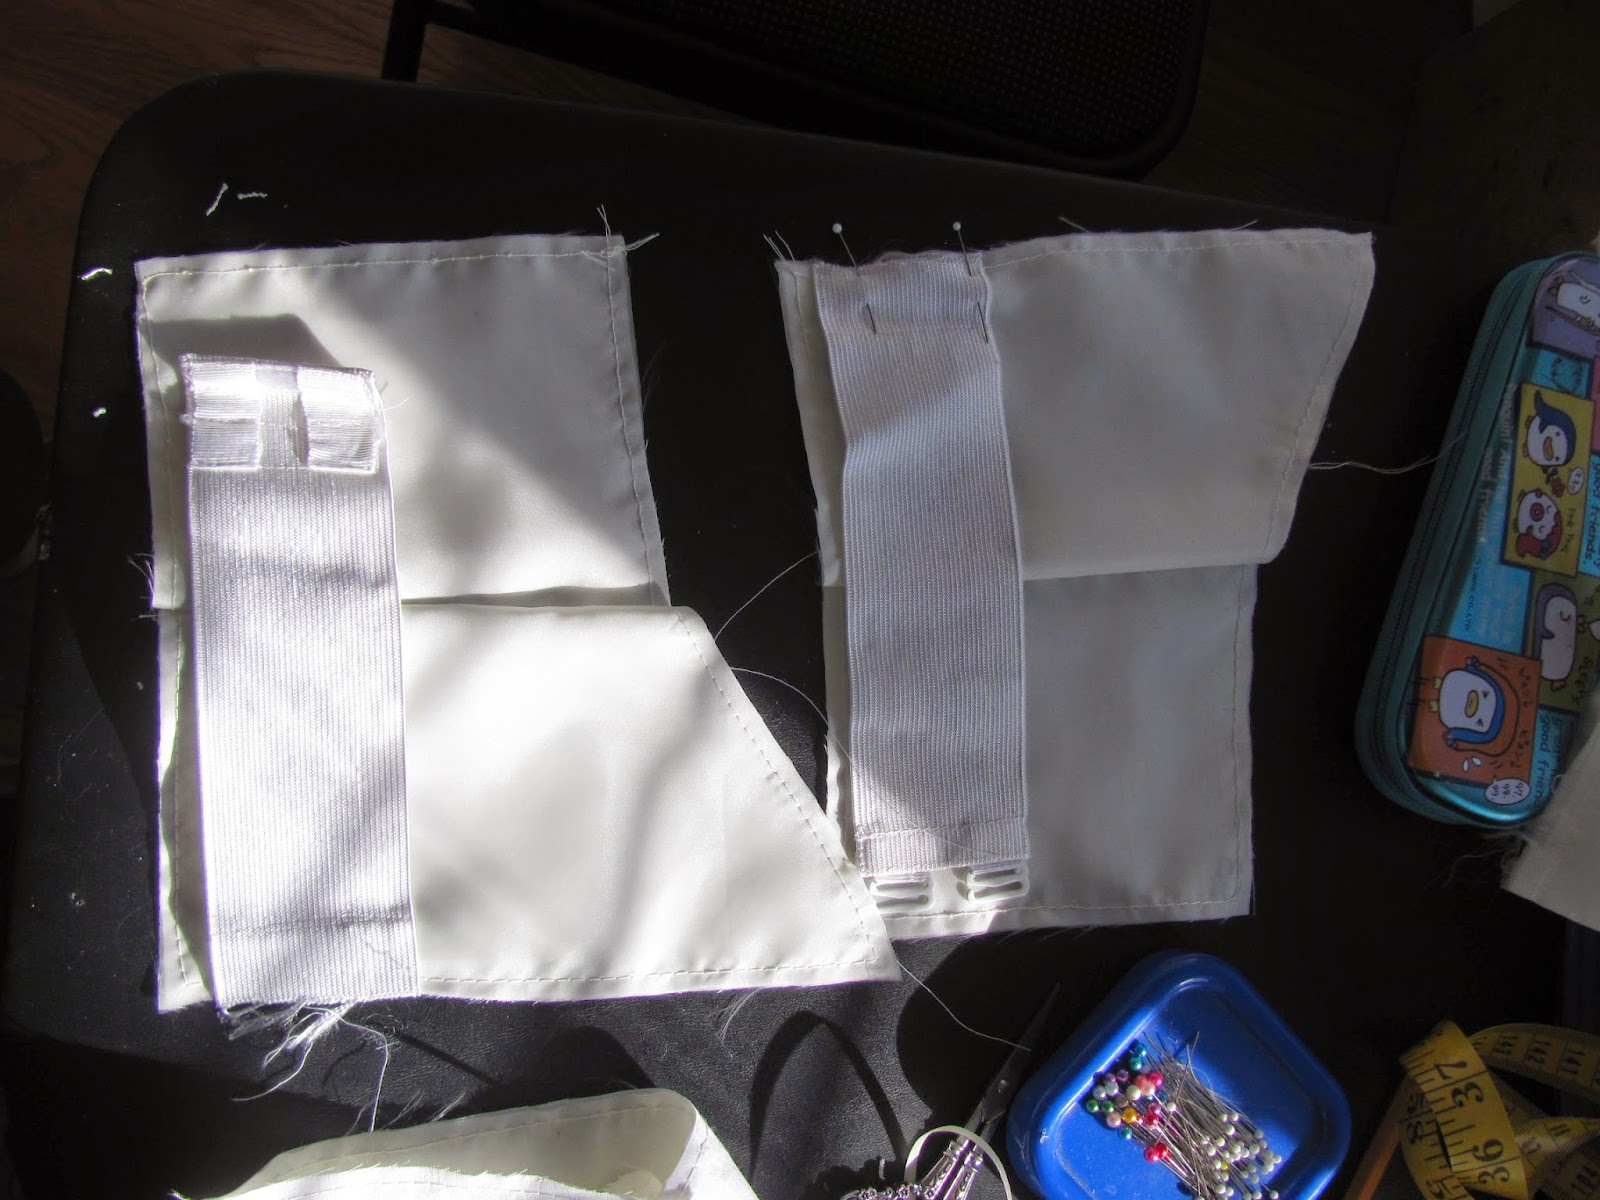
Then sewing! But… the side front and the side back pieces didn’t match! Queue panic. Thankfully I hadn’t tossed any of the muslin pieces, and looks pretty obvious I added extra seam allowance to one piece.

Okay that looks huge there, ’cause perspective, but it’s actually exactly 5/8″.
I’m 95% sure that it’s a case of adding the seam allowance twice but for now I stopped after pressing. Not even clipping it yet, gotta dispel that 5% with a fitting!