I made this dress for a tea in late June, it’s the same one I talked about working on in May and June.
Destashing musing
How do other people deal with their stashes?
December Catch Up!
Because Doris took such lovely photos, I can’t NOT share them.
I talked a little about the making of this dress way back when, and I thought I had more posts on it, but I can’t find them and I didn’t tag too well back then. Anyway, it was made with Truly Victorian bustle pattern TV101, TV201 for the underskirt, and TV463 for the bodice. I extended the tails and changed the shape on them a bit, added cuffs, and modified the neckline. All the other skirt layers were just draped, but my original inspiration for the whole outfit was Christine’s “Wishing” dress from Phantom of the Opera.
Anyway, so in December the lot of us went to Dicken’s Faire, and only one person took pics so my pics are the exact same as AJ’s, so in the name of laziness… here’s her post.
Then on the last weekend of December, the GBACG had a Victorian Holiday Tea 😀 I did want to make something new, but… I have forbidden myself from buying fabric until I use up or get rid of more of my stash, and I didn’t have anything on hand that would be suitable for a new Winter Victorian. Instead I made myself a hat to go with my dress 😀

All these lovely pics were taken by Doris!

Except where Doris is in the pic! Then Bunny or I took it.

At the last minute (well, the night before) I sewed some ribbons onto my train and bustled it up. The train is nice, but walking with it! Not so much so.

This was my first hat of this type! I used peltex, which in hindsight wasn’t a great choice. But I think it came out pretty OK.

This is the same skirt Bunny wore to our Summer Victorians shoot, look how different it looks with a different top!

I liked this little archway because I love how different we all look in it.

It just has a totally different tone for each of us!

This hotel has a lot of good locations for pics!

I love all the mirrors everywhere ;_;

Though for some shots I kept getting in the way >.>

The faux candles worked well too!

Posing like a pro!

All that fluffy goodness 8D

And classy too! XD

The tech shot 8D

Me thinking my gown should also be covered in fluffiness…

Total elegance!

And attitude!

I seriously have the loveliest friends! Just wonderful people <3

Close up of the hat! The most important thing for me was to put a bird on it 8D
Quilt Pinning!
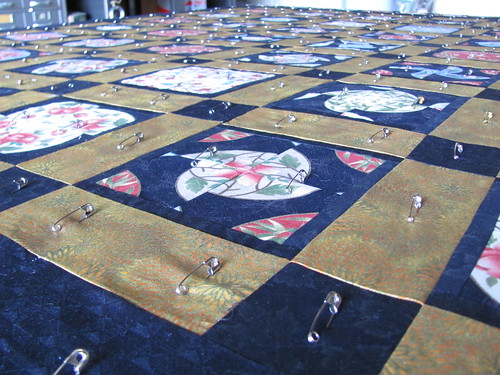
Okay! So, I said I would document this process better the next time it came around so here goes! This is how my gramma pins her quilts.
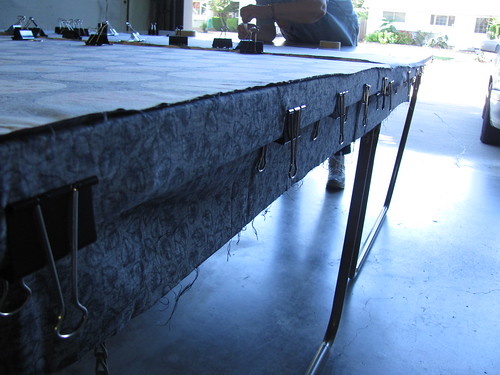
We start with a pool table.. well, my grandpa said pool table, but there’s a hinge in the centre (which, actually, is rather annoying) so I think it’s a ping-pong table.
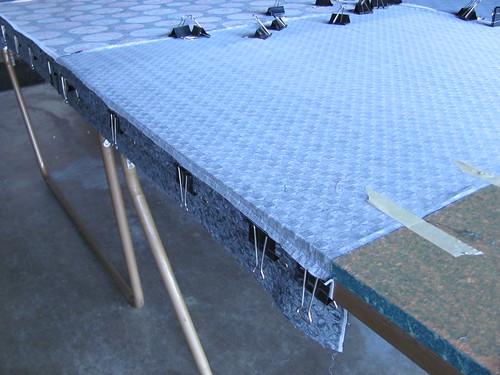
Then the quilt back goes down, right side against the table, and we put binder clips on the edge and make it as taut as possible without stretching it.
More photos and process to follow~
On the edges where it doesn’t reach we masking tape it down:
Then I skipped taking a picture, but you lay the batting down and binder clip and tape it as well.
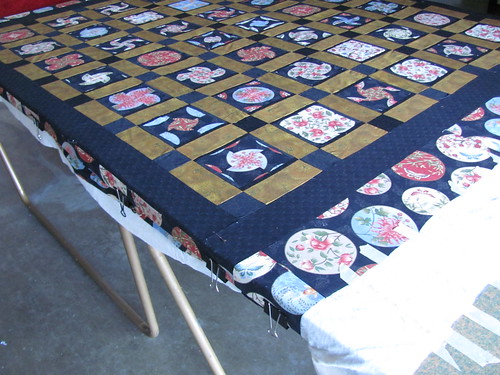
Then the top!
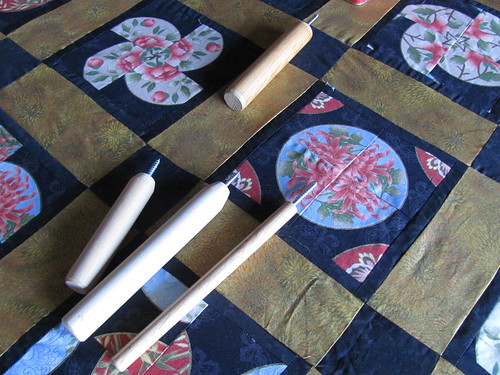
And theeeen, the tools!
My grandpa made these, I don’t really know what they’re called if you wanted to buy one, but I know quilt stores have them… you can also use a spoon! But I found these easier.
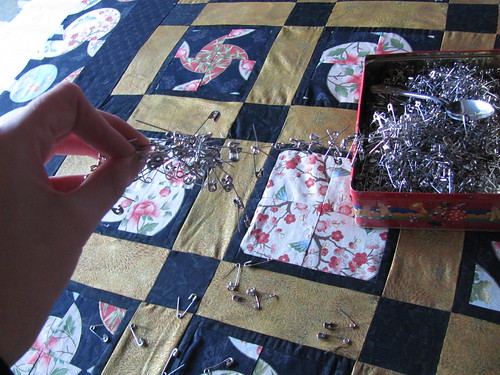
Tin of safety pins (and spoon!)
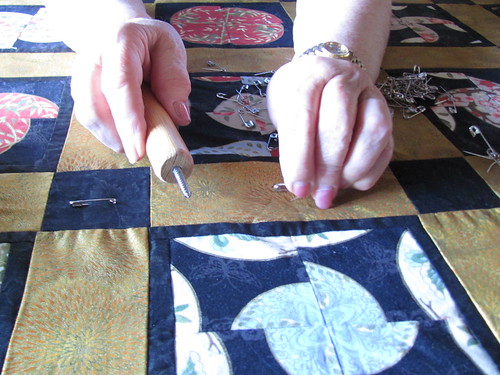
I was trying to take pics to show how that tool is used, but I couldn’t really capture it.
So video!
Soooo many pins!
Here you can see the other type of safety pin, I don’t know what they’re called but they’re sold in quilt stores. They’re in a bit of a U-bend to supposedly make it easier to pin, but I don’t notice any difference between them and a normal safety pin, when using the tool anyway.
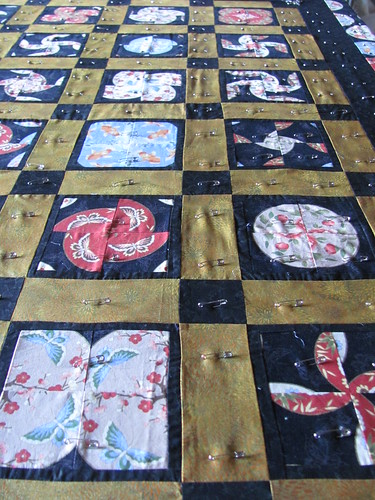
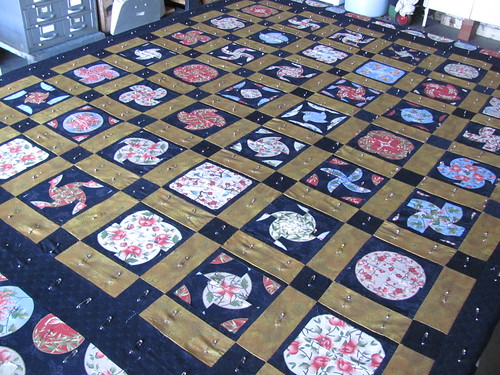
I like the way the pins look 8D
And all done!
This is a… queen? I think. And I want to say it took 2.5 hours from start to finish.
The end!
Tea Cozy!
So at the tea we went to a few weeks back (uh, which I’ll post about later, but I think I didn’t take pics…) Judy said she needed a new tea cozy, she bought one but I thought I’d make her one anyway! I haven’t actually handed it over yet, but she doesn’t read this so no worries.
I had a few tea cozy patterns from my gramma (actually I just found another last night!) and I settled on this one, so it’d be different from the one she already bought, “Tea Pockets” from New Leaf Stitches.
Progress, completed item, and notes to follow!
These were fabrics I was considering, most left over from that quilt my gramma made for my mum (which has since been completed, but I have some in progress shots here).
I ended up using some purple bits left over from other quilts as well.
So the pattern says ¼” seams, as most quilted things are, but I had to do a much larger (like ¾”) seam on the sides so that the points would just touch, and even then I didn’t take it in quite enough.
Then as I was binding it I stopped and took the previous two pics, sending to AJ that it looks massive! So I ended up taking about an inch off all around, and making it a little rounder looking ‘cause… cute 8D
And done!
I hand bound the side seams, but machine did the bottom since… inside, no one cares XD
I’m not actually sure how big Judy’s pot is though! So if it’s still too big, I’ll toss it on etsy and make her another one!
Maybe out of that pattern I found last night….
Fabric Box
So when I don’t actively have a costuming project, I’m trying to just… use up fabric and make *stuff.* Soon that will probably result in some misc. etsy things, but for now I’m still just making stuff for friends and for myself.
In an effort to help me organize, I modified this Pockets to Go pattern by Atkinson Designs.

The measurements on the long box were like… 4×8”? Or something like that, and I wanted something like 8×12”. Something that wasn’t a straight up doubling, of course, because that would have been too easy.
Anyway.
Fabrics.
They are so beautiful.
It turned out okaaaaay. Not as clean as I would have liked, but I didn’t have patience to machine sew one side of the trim and handsew the other.
So my fault really.
I didn’t read the directions correctly when it came to the trim and how to do the corners, so ugliness there is also my fault ;_;
There’s this weird bagging on the inside of one end and I’m not really sure why, but too lazy to fix it.
This lovely wisteria fabric is the base and trim. So… on the bottom so you can’t see it, and in tiny strips so you can’t see it. So sad.
Oh and pockets. It’s bagging a bit on this end too. Not sure whyyyyyy.
My fabrics are so similar though, it’s not obvious that the middles and ends are different. To me anyway.
And in use! The base is actually stable, it’s just the thread case I popped it on is smaller.
Decent pattern! But I think for the hypothetical next one, I’ll just make something up. I’m not super fond of how you have to fold the trim of the corners in, in order to bind the top.
Country Regency Progress
Soooo, I talked about this dress awhile back here, in the plotting stages.
It’s basically done now, and I’ve been a TOTAL space cadet lately, combined with the crunch of getting it done in time means I didn’t take that many pictures. But here’s what I did take! And how I made it.
I started with Sense & Sensibility’s Elegant Lady’s Closet pattern, the gathered variant.

Progress shots! Read more
More Quilts/quilt tops!
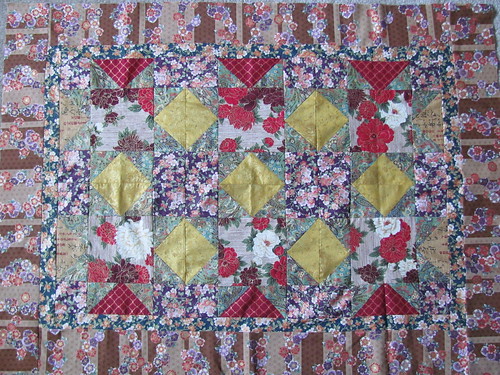
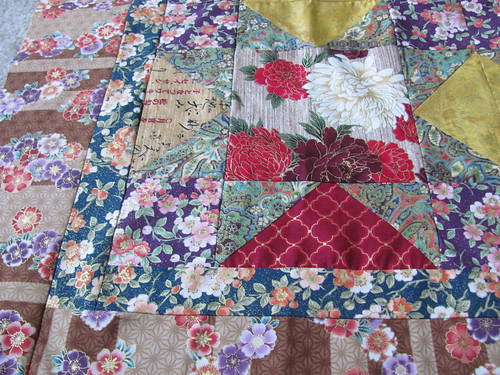
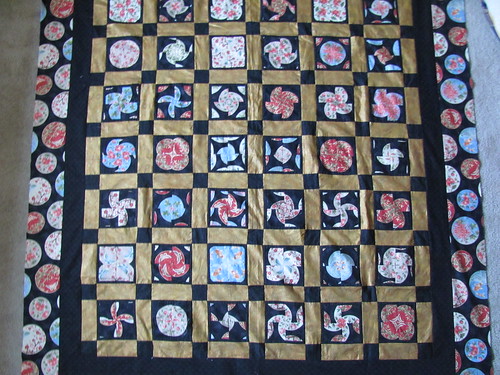
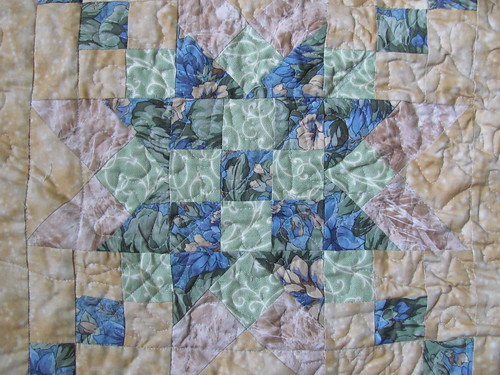
These are the tops I took pictures of just two weeks ago! She’s way more productive than I am.
This is a baby quilt for a Japanese tole painting friend of my gramma’s.
This is a pattern I was considering for a baby quilt for a friend.
This one is another quilt for Butterfly Sister (those of you who follow my travel exploits, this is E!).
See the butterflies?
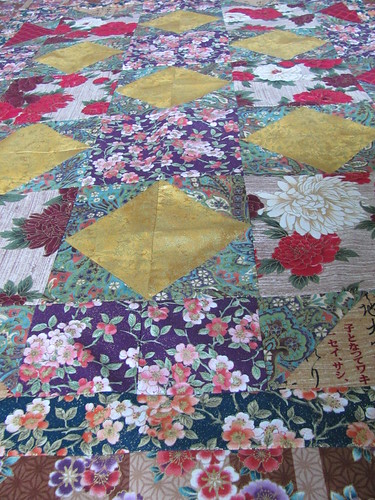
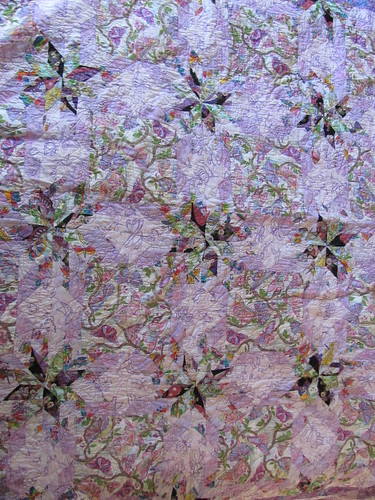
This quilt is quite large, so I didn’t bother ironing it, which should be pretty obvious!
This pattern is actually the same as the SouthWest styled one I posted before, with the fussy cutting making the kaleidoscope-esque look.
It was the scrap from the main body of this that I supplemented into that lunch bag I made E.
This one I’m not sure why she made it originally, but one of my brothers had told my gramma how his GF liked his quilt and always used it. So she took pics of the quilt tops she had on hand and said he could choose. He went with this one.
I think it’s a pretty standard quilting design?
Anyway, she finished the whole thing but…
Oh noooooo. This is what happens when you don’t get your quilt stretched and pinned nicely. I believe this was a case of too many cooks, since I was there trying to help my gramma with this one, as well as two of my sisters. My gramma actually told me to stop helping, saying I was being “too particular” and it doesn’t have to be perfect! But also it’s a king sized quilt, and was very cumbersome, and my two sisters had never done this before. So. Next time will be better!
Even More Bags!
Actually, it’s not really more bags, these are both older but I forgot to post them!
So here’s the 2nd lunch bag I made, that I talked about when posting the 3rd lunch bag.
As well as that Batman Tote I mentioned a bit ago…
Let’s do Batman first, because, Batman!
This was made out of a comic con bag from 2011 this one if you want to see it pre-cut up. I used the logo portion of this bag earlier, on a messenger bag for my brother.
Everytime I take pictures Pippin gets all curious, but she doesn’t stay curious long enough for me to take something cute XD
This might be my favourite feature (which horrified my little brother, but what does he know). I got that pin as a freebie at Wonder Con this year.
See? So blurry cat why don’t you sit still D:
Anyway, the back. It’s fairly uninteresting, but does say Arkham Asylum, so that’s something.
I took a pic of the inside, which has pockets and such, but I forgot to clip threads so you’ll just have to imagine 8D;;
Hurrah for using up more scrap though! The sides and handles are a heavy canvas twill leftover from my TVM Master costume, I can’t remember what the grey (which is on the inside, so you can’t see it anyway) is from, but something quite old I’m sure.
Anyway, so this is the 2nd lunch bag I did. I’m only including this pic because my sock is awesome.
This is the inside comparison, I took a pic since I rambled on about it so much last time. Anyway I made these two in the same way, but decided I like how the cover looks tacked down (for all those times you stare directly down at your bag…) so for the purple one I did the stitching over the cover instead of under.
See? Under the cover.
And that yellow stitching corresponds with this yellow stitching.
Soooo, three bags later (I gave this one to my gramma), I think that the rim pieces should maybe be interfaced on the lining pieces too, and I need to set my handles in a little more because I don’t like the way they flop a bit (… for all the times it’s just sitting there being looked at…).
I have a small pile of tutorials and patterns to try, so there will be some variation soon 8D But I do have two more of this style in mind, as I have been reliably informed a friend loves owls, and I have enough of the owl fabric left, and I recently got a lovely bunch of purple themed quilt scraps for a purple loving friend.
I’m really trying to make at least SOMETHING every week, so hopefully I’ll remember to take pics as well 8D
Another scrap bag, with bonus quilt
I’m really trying to use up scraps… and just make STUFF. Like I’m at that point where I don’t even care, I just want to use up fabric (but not quite at the stage where I want to actually purge the fabric XD). So, bags. That’s what’s been happening.
Though! My latest costume, Black Canary, was all scrap! I feel a little accomplished for that.
Anyway.
I made a bag in between the owl one I posted earlier and this one, from the same really cute tutorial. I was going to post that bag now, but I didn’t take very good pictures so I’ll need to take some more.
The one step I wasn’t keen on for that lunch bag tutorial is that in order to catch all the seam allowance and create an enclosed seam the top stitching is wider below the brim than it is above it. So for the second bag I left a gap and did the whole flipping it inside out thing, and then top stitched… this will make more sense when I post those pics. Well for the 3rd one I decided to do that again, only this time to also catch the cover in the topstitch, because I like that look better (for all the time anyone spends looking at the inside…).
Yeah okay, that wasn’t explained that well, for my next bag I’ll take pic of the process.
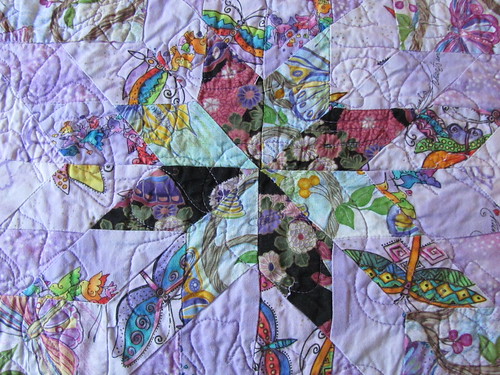
This bag was made for my sister using scraps leftover from a quilt my gramma made her.
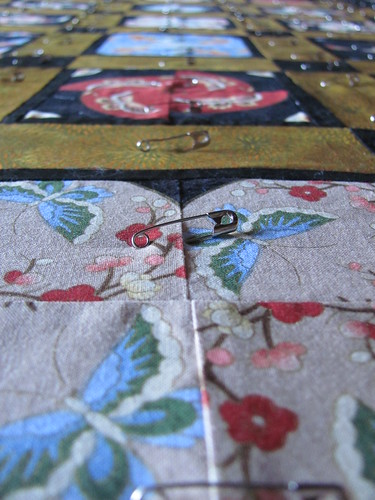
So the theme of this quilt was butterflies!
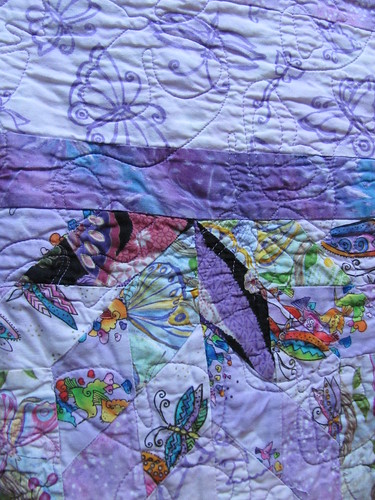
My sister and I both really like butterflies, so my gramma is always giving her butterfly things and sometimes I take them >.>
I didn’t take the quilt though XD Just saying.
Anyway, this is a quilt my gramma sent out to be quilted, because she wanted this pattern.
These are shots from the back, so it’s a bit more obvious.
These are the scraps I chose to use for the main body.
None of the pieces were big enough for the cover, so I supplemented these two from my scrap stash. The far right is actually from a quilt for E that my gramma’s working on now (note the butterflies in the black part XD).
None of the pieces were quite big enough, so I pieced the body.
So this is the body of the bag, before you sew up the sides and put the corners in.
I must have miscut something ‘cause everything lined up perfectly except one -_-
And that’s the last progress pic I took.
Finished bag!
If I do another pieced version, I’m going to try to reproportion the width of the strips so it aligns with the corners. Hindsight.
This is what I meant about the inside, having the cover stitched down a bit looks cleaner I think. I used a dark purple thread for all of this, but on the lighter fabrics it looks black ;_;
The inside! I had to piece that as well, but I used all the same fabric.
And then Pippin got curious XD She was too curious though and kept moving :/
… she’s actually in the end of a yawn here, but I like it ‘cause it’s the killer cat face.
Oh this is the outside of that same topstitching.
Matchy matchy!
Sometimes I think I post too many pictures at once, what do you think? Break it down some?